UK Monster Owners Club Forum » .: General :. » Random Chat » Life after the Slow Monster Rebuild

Reply
 
Thread Tools Display Modes
Old 02-03-2021, 10:53 PM   #31
yellowfever
Member
 
yellowfever's Avatar
 
Join Date: Mar 2006
Location: London
Bike: S2r 1000
Posts: 172
Maybe things can go full circle and the two Ducati’s can join together once again in order to make a nice electric powered bike with a trellis frame

An electric monster could be a nice future proof hoot...
yellowfever is offline   Reply With Quote
Old 03-03-2021, 06:49 AM   #32
Mr Gazza
Lord of the Rings
 
Mr Gazza's Avatar
 
Join Date: May 2013
Location: Norwich
Bike: M900sie
Posts: 5,807
Thank you for that very interesting info Kato..
It's good to know the original company is still going in some form.

I thought exactly the same as Yellowfever and saw all the ingredients for a superb electric Ducati. Not sure why it hasn't already happened?
__________________
Mr Gazza is offline   Reply With Quote
Old 03-03-2021, 08:01 AM   #33
Kato
Dismantled
 
Kato's Avatar
 
Join Date: Feb 2006
Location: East Molesey
Bike: Multiple Monsters
Posts: 2,222
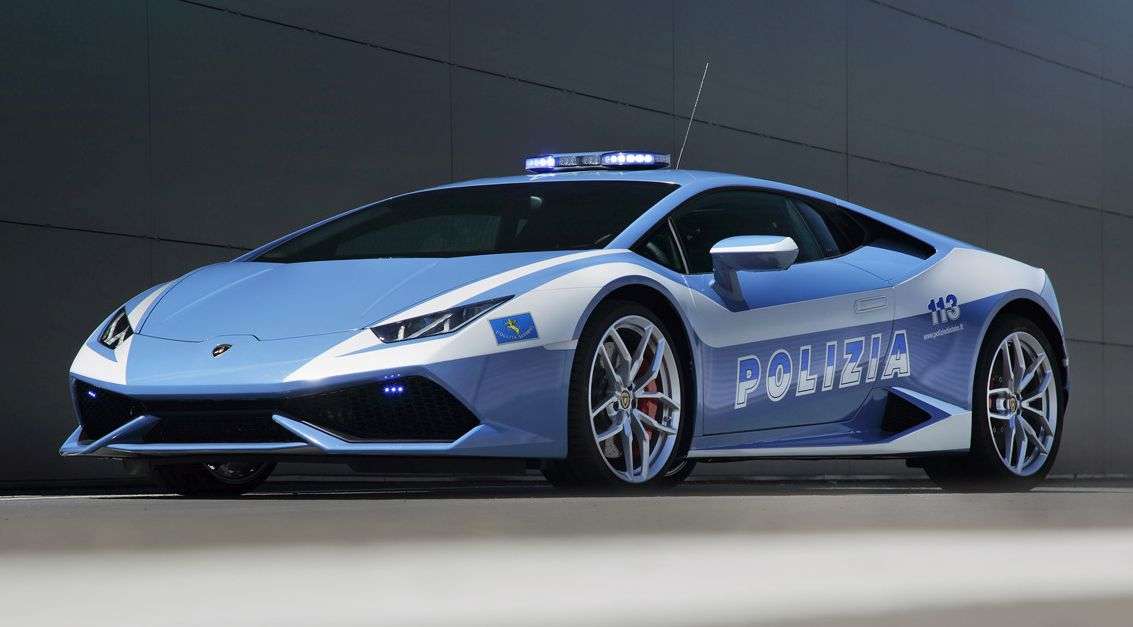
Unfortunately the offering at present is this little beauty, you see them everywhere used by Posteitaliane & Polizia


__________________
"Political correctness is just intellectual colonialism and psychological fascism for the creation of thought crime"

Kato is offline   Reply With Quote
Old 03-03-2021, 08:38 AM   #34
Dukedesmo
Registered User
 
Dukedesmo's Avatar
 
Join Date: Sep 2010
Location: Leics
Bike: M900
Posts: 2,842
Quote:
Originally Posted by Mr Gazza View Post
When I had my Morini I was told that Ducati Elettrotecnica was a completely different company and nothing to do with the Ducati we know.. I don't know if that's right or not?
Often wondered this myself.

I had a KTM 2-stroke MX bike on which the engine seized and so required a full rebuild (they all do that sir!) and saw that it had a 'Ducati' ignition system which got me wondering why (especially back then) anyone would spec Ducati electrics...
__________________
M900, 916, LeMans II.

Dukedesmo is offline   Reply With Quote
Old 03-03-2021, 08:43 AM   #35
Dukedesmo
Registered User
 
Dukedesmo's Avatar
 
Join Date: Sep 2010
Location: Leics
Bike: M900
Posts: 2,842
Quote:
Originally Posted by Kato View Post

From this;


How the mighty have fallen.
__________________
M900, 916, LeMans II.

Dukedesmo is offline   Reply With Quote
Old 03-03-2021, 09:22 AM   #36
yellowfever
Member
 
yellowfever's Avatar
 
Join Date: Mar 2006
Location: London
Bike: S2r 1000
Posts: 172
Hmmm, agreed not the sexiest looking thing, but it is weatherproof and I see it comes in yellow

Not sure I’m quite ready for this glorified mobility scooter just yet though...
yellowfever is offline   Reply With Quote
Old 03-03-2021, 09:27 AM   #37
Darkness
.
 
Darkness's Avatar
 
Join Date: May 2007
Location: Stockbridge
Bike: M900
Posts: 1,984
Quote:
Originally Posted by yellowfever View Post
Hmmm, agreed not the sexiest looking thing, but it is weatherproof and I see it comes in yellow

Not sure I’m quite ready for this glorified mobility scooter just yet though...
Glorified? Not that I’d noticed!
__________________
Original and Best since 1993
Darkness is offline   Reply With Quote
Old 03-03-2021, 09:39 AM   #38
Kato
Dismantled
 
Kato's Avatar
 
Join Date: Feb 2006
Location: East Molesey
Bike: Multiple Monsters
Posts: 2,222
SLOB we seem to have hi-jacked the OP's thread are you able to move everything from #33 to a new thread "Ducati Energia"

Apologies 350TSS
__________________
"Political correctness is just intellectual colonialism and psychological fascism for the creation of thought crime"

Kato is offline   Reply With Quote
Old 03-03-2021, 05:43 PM   #39
350TSS
Too much time on my hands member
 
350TSS's Avatar
 
Join Date: Jan 2013
Location: Shipbourne
Bike: M900
Posts: 1,419
Apologies not necessary - it is in "Random Chat" so perfectly permissible to wander off a bit.
Back on topic - got the front forks stripped down so I can send the legs away for re-chroming. I have noticed working on this bike a number of interesting differences from the way other manufacturers put bikes together -
1. all fasteners are sized to take into account weight e.g. twistgrip clamp screws are 4mm instead of 5 or 6mm, kickstart clamp bolt and rear sprocket retaining bolts are 7mm instead of 8mm, chainguard retention bolts 5mm instead of 6mm.
2. the steering stem has no nut underneath the top yoke to adjust the headrace bearings but rather relies on the top nut above the top yoke to tighten the bearings
3. the chrome fork legs run directly in the aluminium sliders, not a great design in my opinion as when the aluminium wears the fork sliders are scrap

Doubtless, there will be more to discover when I dismantle the engine, I already know about the flat cylinder heads and vertical valves with the combustion chambers in the pistons
350TSS is offline   Reply With Quote
Old 03-03-2021, 06:08 PM   #40
350TSS
Too much time on my hands member
 
350TSS's Avatar
 
Join Date: Jan 2013
Location: Shipbourne
Bike: M900
Posts: 1,419
Some other different practices - rather than just relying on a bolt to attach the rear brake torque arm to the swinging arm the bracket welded to the underside of the SA has an 8mm ID tube welded to it cut the same thickness of the torque arm. There are a number of instances of this practice all over the bike.
The anti-vibration mountings all over the bike are 2 penny washers sandwiching a 2mm rubber washer, typically these are between the bracket on the frame and the component to be attached, e.g. rear mudguard. The attaching bolt is still in contact with both the frame and the mudguard so probably not effective at all. I think I shall probably modify most of these so that a rubber grommet is inserted into a bigger hole in the component to be attached and the bolt is isolated from both the frame and the component by a layer of rubber
350TSS is offline   Reply With Quote
Old 08-03-2021, 04:51 PM   #41
350TSS
Too much time on my hands member
 
350TSS's Avatar
 
Join Date: Jan 2013
Location: Shipbourne
Bike: M900
Posts: 1,419
Two 3 hour stints in the still freezing garage have enabled all the steel bracketry, including the swinging arm to receive 2 coats of black. I put 2 x 2kw fan heaters in my little tent and park the spray can in front of one of the heaters for about 20 mins before I attempt any spraying. The results are ok, although some of the pitting from the surface corrosion (leaving it in a leaking shed for 10 years) shows up in the finished article.


I got a spare tank and side panels when I initially bought the bike back in 1989, these have been stored in a warm dry environment and are sound. The only problem is they are a darkish metallic green and that will not do for an Italian bike so I intend to spray it Ducati red. If I get a good finish on the tank I may well revisit the brackets with pitted surfaces.

I bought a small polishing kit from eBay for £20 which consisted of 1 x arbor suitable for use in an electric drill, 3 grades of polishing wheel c 100mm diameter, two grades of polishing compound, and an e cloth. All the bare aluminium parts were quite heavily pitted so were attacked with successively 180, 400, 600, 800, 1000, 1500, 2000, and 4000 abrasives and then treated to the polishing wheels.
The picture below is after the intermediate wheel and the coarser buffing compound. Italian steel and Italian bolts of the 1970s were c**p but their castings are beautifully made of an alloy that takes a shine really well. Well pleased with the results

Last edited by 350TSS; 08-03-2021 at 04:53 PM..
350TSS is offline   Reply With Quote
Old 09-03-2021, 07:02 PM   #42
350TSS
Too much time on my hands member
 
350TSS's Avatar
 
Join Date: Jan 2013
Location: Shipbourne
Bike: M900
Posts: 1,419
I got 3 hours in today and managed to disentangle the harness from the frame. The loom is in plastic sleeving which has gone hard/brittle and in a number of places it goes between some gussets and the headstock, the space is too small to get the connectors through the gap so these had to be cut which settles whether or not I have to re-wire it.
I originally intended to sandblast the frame but it is deeper than a Monster frame so will not fit in my converted filing cabinet blaster. In consequence, I had to use a wire brush on an electric drill and in the last two hours I managed to get about a third of the frame back to bare metal.

One little oddity The very top headrace and only the top one has very evident ball-shaped indents in it which is a bit of a bugger as I cannot, at the moment, find a source for a replacement set.
350TSS is offline   Reply With Quote
Old 14-03-2021, 05:08 PM   #43
350TSS
Too much time on my hands member
 
350TSS's Avatar
 
Join Date: Jan 2013
Location: Shipbourne
Bike: M900
Posts: 1,419
After 2 arduous sessions, I finally managed to get the frame 98% back to bare metal. I used a wire brush and some 120 grit decorator's roll. Here is what I learned.
1. If you want your frame back to bare metal take it to a firm that can carry out sandblasting/shot blasting - using wire brushes and sandpaper
a) is extremely time-consuming,
b) potentially dangerous when the bristles fly off in all directions,
c) does not reach every crevice on the frame and the finish is uneven,
d) creates a lot of airborne dust in the environment where you are working.
e) it is possible all too easily to mark the frame by catching the wire brush arbor or the drill chuck whilst trying to reach another part of the frame.

2. If you still want to do it yourself then:
a) degrease the frame at least twice before starting, I did it once but caught some residual grease which stops the wire brush from working and clogs the sandpaper terminally
b) wherever possible use a wire brush with bristles pointing forward rather than at 90 degrees to the chuck axis as these are less likely to shed dangerously
c) pressing hard on the wire brush only succeeds in shredding the bristles or scoring the finish on the frame
d) you will need multiple shapes and sizes of wire brush to reach the various crevices on the frame and I guarantee you will not get to all of them.
I shall not be repeating this exercise. Ever again.

Last edited by 350TSS; 14-03-2021 at 05:13 PM..
350TSS is offline   Reply With Quote
Old 19-03-2021, 05:52 PM   #44
350TSS
Too much time on my hands member
 
350TSS's Avatar
 
Join Date: Jan 2013
Location: Shipbourne
Bike: M900
Posts: 1,419
Over the last few days, the frame has had 2 coats of etch primer followed by 2 coats of grey primer (quite difficult to distinguish when spraying whether you have covered the etch primer as the dried colour of the etch is the same as the wet colour of the grey primer) and 4 coats of black gloss.
Next, after a couple of days to let the solvent come out of the black gloss, I shall give it a light rub down with some 800/1000 grit W&D, then a couple of clear coats.


I will not get the fork stanchions back from re-chroming until mid-April and I think I need the bike on its wheels before I put the engine back in just so I have a stable(ish) retained frame to enable me to get the rear engine mounting lugs inside the welded in engine mounting plates.
Today's other job was to get the fork seals out of the sliders, I tried my seal puller but they were not for shifting and I was marking the top of the slider with the puller. I tried Dremeling the steel top plate on the seal but they still would not budge. I am afraid in desperation I used a hammer and a thin-bladed screwdriver and they eventually came out, fortunately, with no damage to the part of the slider the seals are pressed into. There are 2 seals to a slider each 46 x 34 x 7mm and I could not find any that size. The machined space they fit in is 20.5mm deep to the lower edge of the retaining circlip groove. I did find some seals with the correct OD and ID but they were nominally 10.5mm deep so I bought them and hope I can finesse the fitment of the retaining circlip or the depth of the seals or the position of the circlip groove by c 0.5mm. When I have bought seals in the past the depth of the actual seal is normally below the nominal size so maybe I will get away with just fitting the new ones
350TSS is offline   Reply With Quote
Old 26-03-2021, 05:59 PM   #45
350TSS
Too much time on my hands member
 
350TSS's Avatar
 
Join Date: Jan 2013
Location: Shipbourne
Bike: M900
Posts: 1,419
Today I have mostly been nickel plating. Results were a bit mixed, where I was not that bothered about the aesthetic finish (SA spindle) I got an outstanding result, where I was bothered I got a mediocre result - the law of Sod.


I did manage to find some seals (correct size 47 x 34 x 7mm) at Simply Bearings they were just called nitrile axial bearing seals rather than fork seals. They are the same as the old ones that came out. The 2 x 10.5mm wide ones I ordered just would not fit into the 20.5mm deep housing. I was a bit worried by a 20.5mm deep housing and 2 x seals whose combined depth was 14mm (even though that is how the bike was built). e.g. what was to stop one or other of the seals twisting and becoming loose in the housing?
I knocked up some 5.5mm spacers out of some 48mm aluminium scaffold tube which will be put in after the first seal has been located/seated at the bottom of the housing and before the second seal is put in. (Left of the picture above)
I was amazed at how out of concentric the scaffold tube was (ID vs OD nearly a millimetre) which made parting off a bit tense.

Last edited by 350TSS; 26-03-2021 at 06:03 PM..
350TSS is offline   Reply With Quote
Reply


Posting Rules
You may not post new threads
You may not post replies
You may not post attachments
You may not edit your posts

BB code is On
Smilies are On
[IMG] code is On
HTML code is On

Forum Jump


All times are GMT. The time now is 04:06 AM.

vBulletin Skins by vBmode.com. Powered by vBulletin® Version 3.8.3
Copyright ©2000 - 2024, Jelsoft Enterprises Ltd.