Quote:
Originally Posted by Darren69

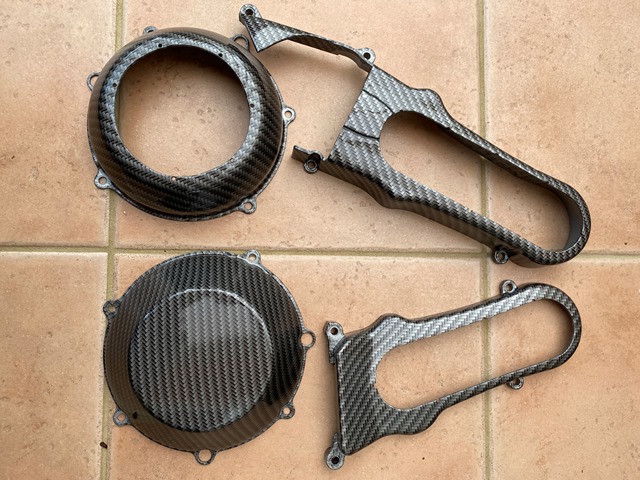
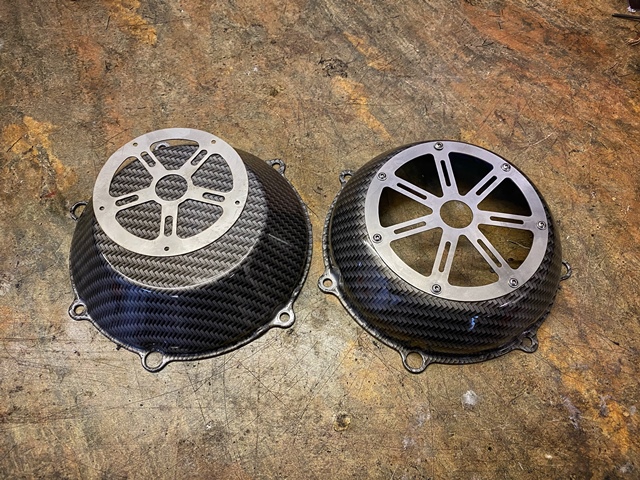
I think they're carbon dipped plastic and not real carbon fibre, so no real dust issues but it pays to be cautious though!
|
yes, its plastic, but I still wear mask, in the garage and in the shops these days!
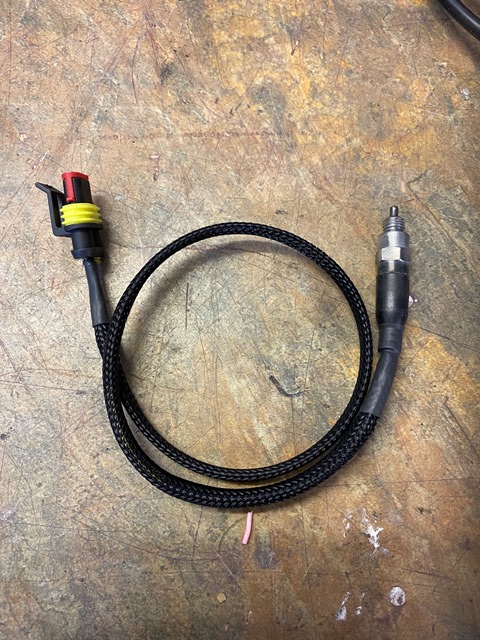
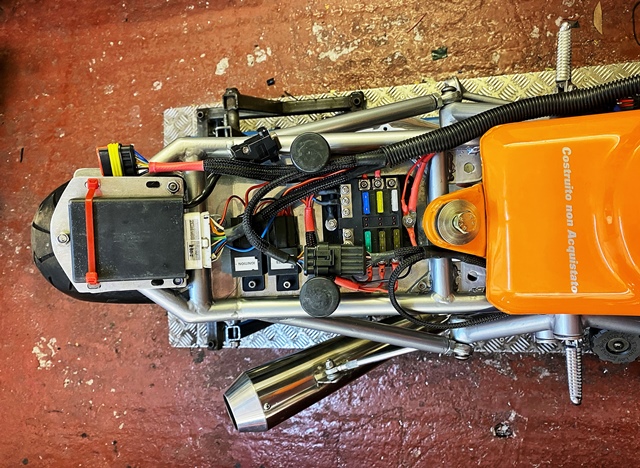
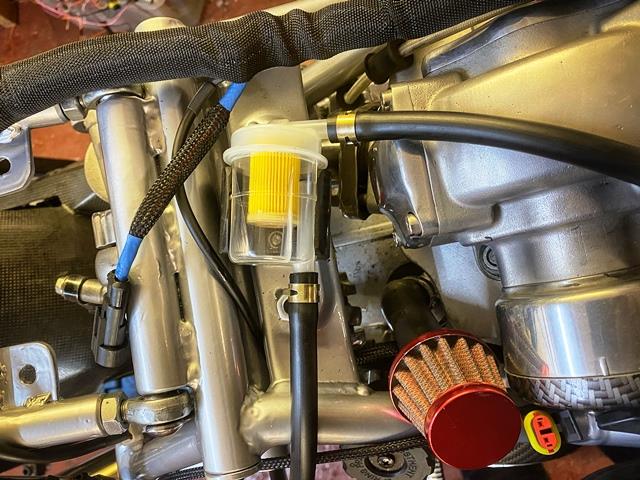
for some parts of the loom I have used this braided sheathing... its a bit fiddly to do but the results are good. I notice a lot of cars use this now on the loom.
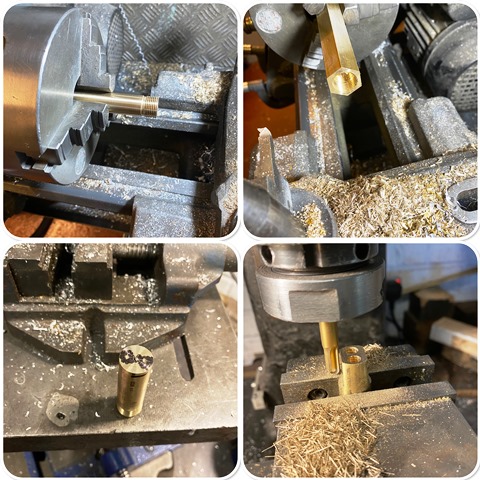
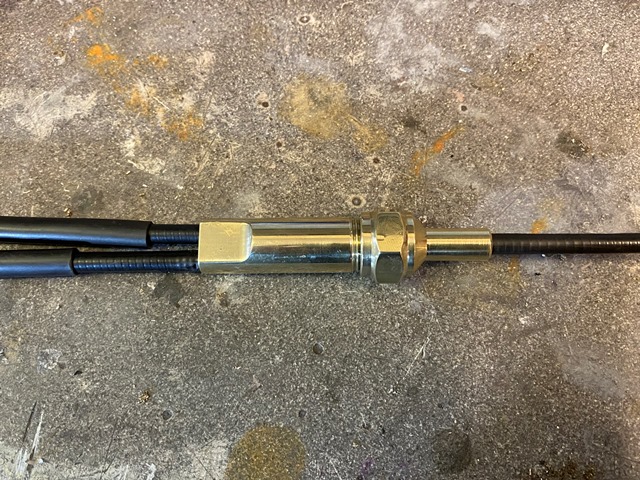
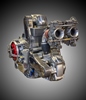
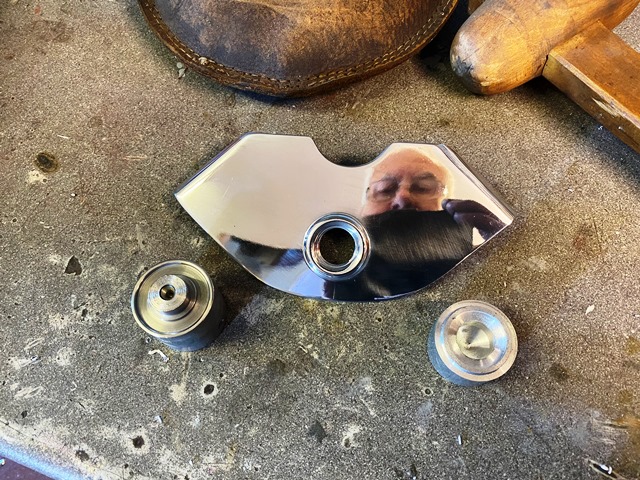
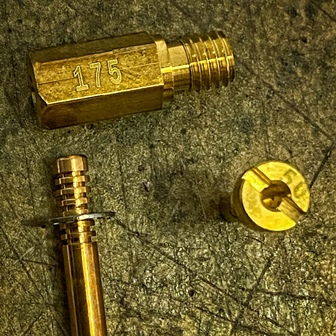
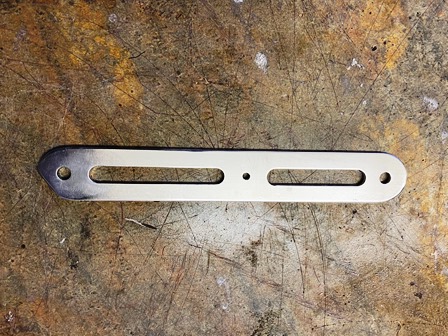
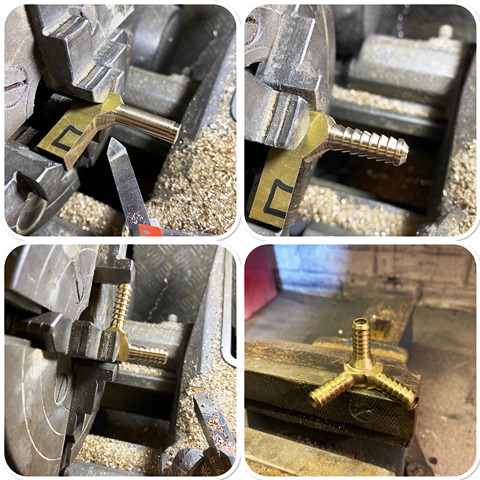
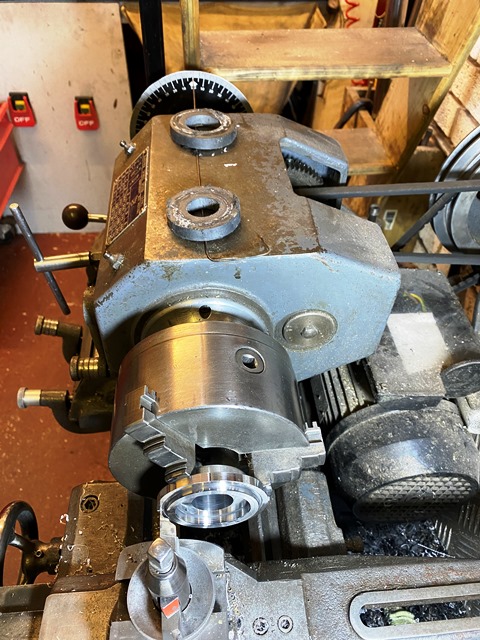
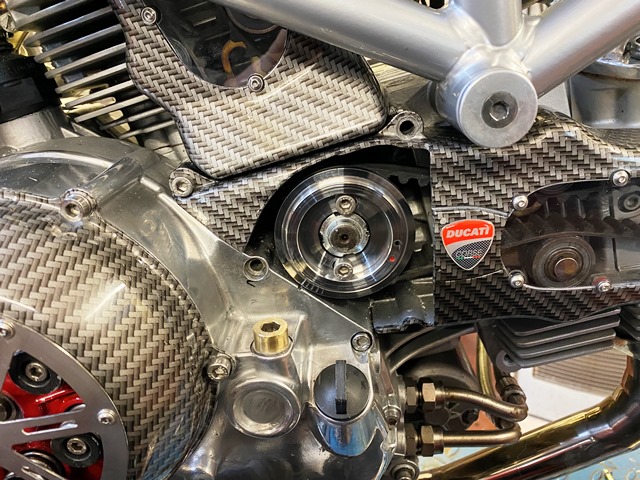
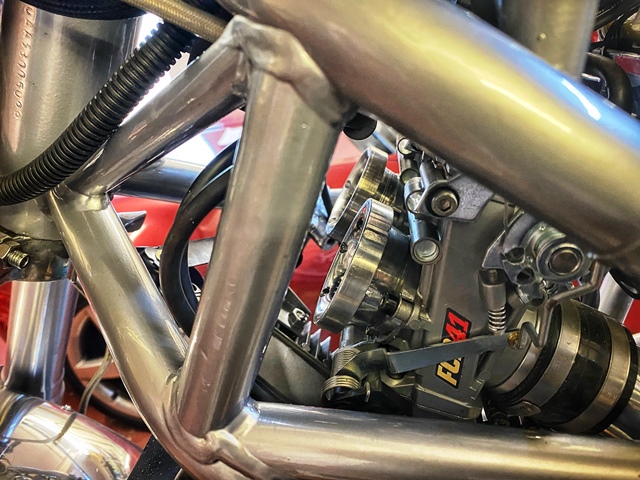
Another job I have been meaning to get around to... The FCR carbs need a one into two cable setup. I was going to use a junction box off an old British bike, but all the ones I could see were either too short on the pull distance, or terrible quality, so I decided to make one. I was going to make it out of aluminum but had difficulty getting nice threads, probably due to the grade of alloy bar I had. so brass it is. It also allowed me to put longer holes to retain the cables, all the ones I looked at only had short holes.


 Roast Beef Monster!


 Linear Mode

