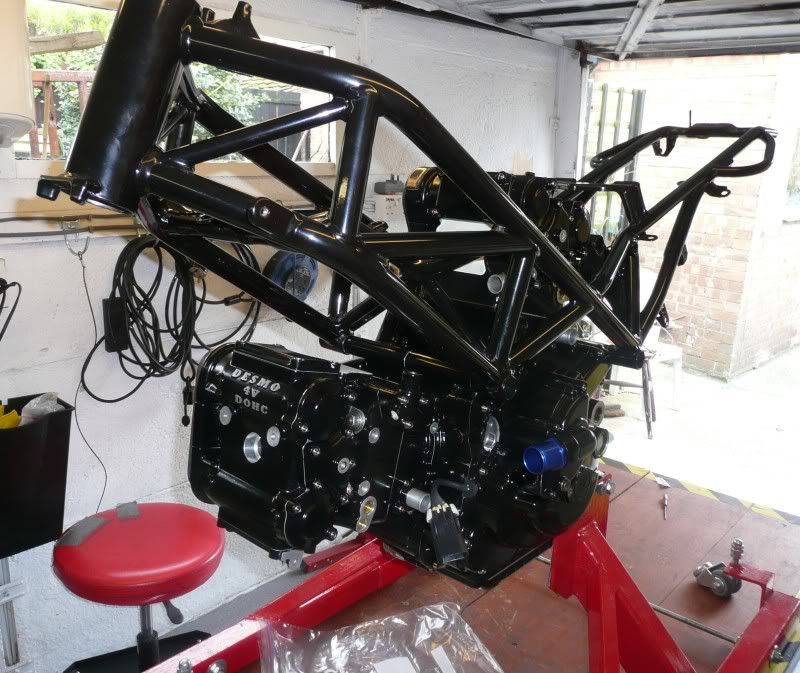
The completed the engine, was collected and the rebuild commenced, I fabricated a stand that bolts to the engine and allows the complete bike to be built on it.
The frame is bolted to the engine using ARP high tensile steel bolts that are torqued 20% greater than the standard items. Taper roller headstock bearings were fitted after a problem with the seals contacting the races was sorted out by the inclusion of a spacer shim.
The wiring loom is secured to small tabs welded to the inside of the frame tubes keeping it mostly out of sight and avoiding visible tie wraps. An Anderson power connector has been fitted to a frame welded bracket, this enables the bike to be easily jump started I provided this to supplement the small battery, and the lower powered alternator, the idea being that I jump started the bike at home when setting off and have sufficient capacity retained in the battery for 5 or six starts, I fitted a earlier type handlebar switch so that I can switch off the lights and increase the charge to the battery. This may become superfluous as I’m considering fitting a lithium iron battery that weighs about 600g and produces as much cranking power as the OEM item.
The fuel hoses have been relocated round the left hand top of the engine, this cleaned up the right side.
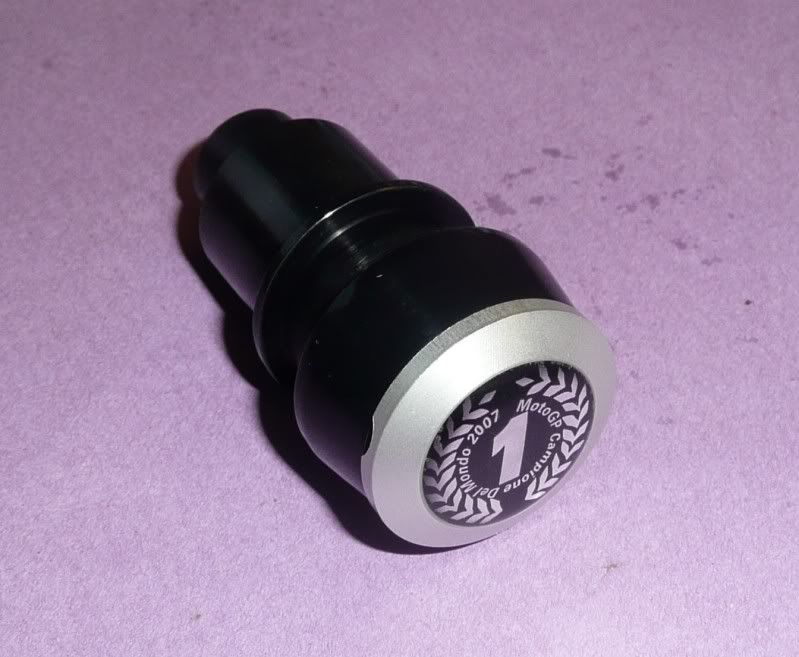
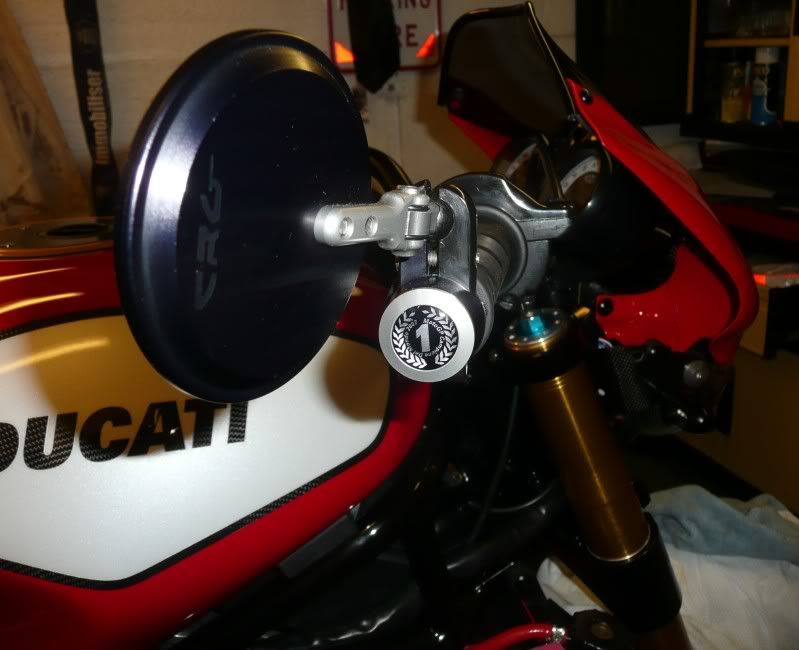
I got some ‘Campione del Mondo’ frame plugs but they were too small so I incorporated them into the bar end CRG mirror plugs that I made up.
Progression of Assembly
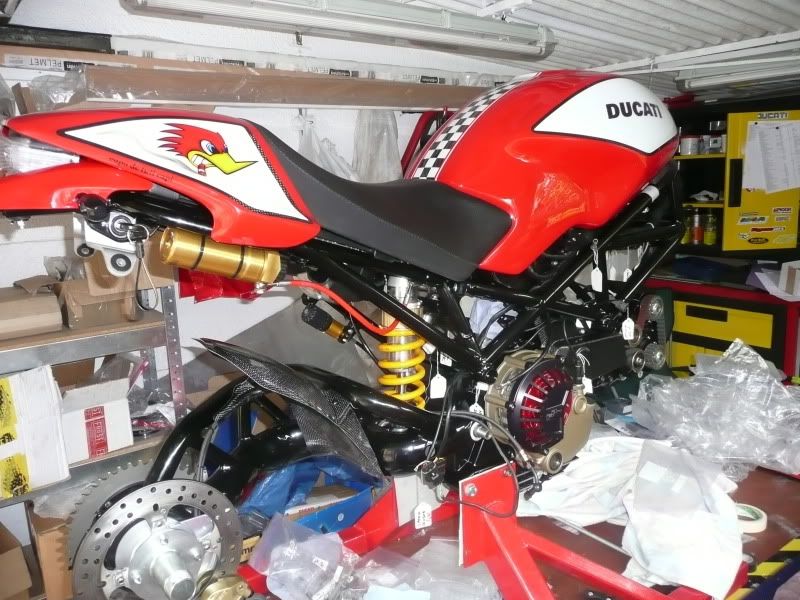
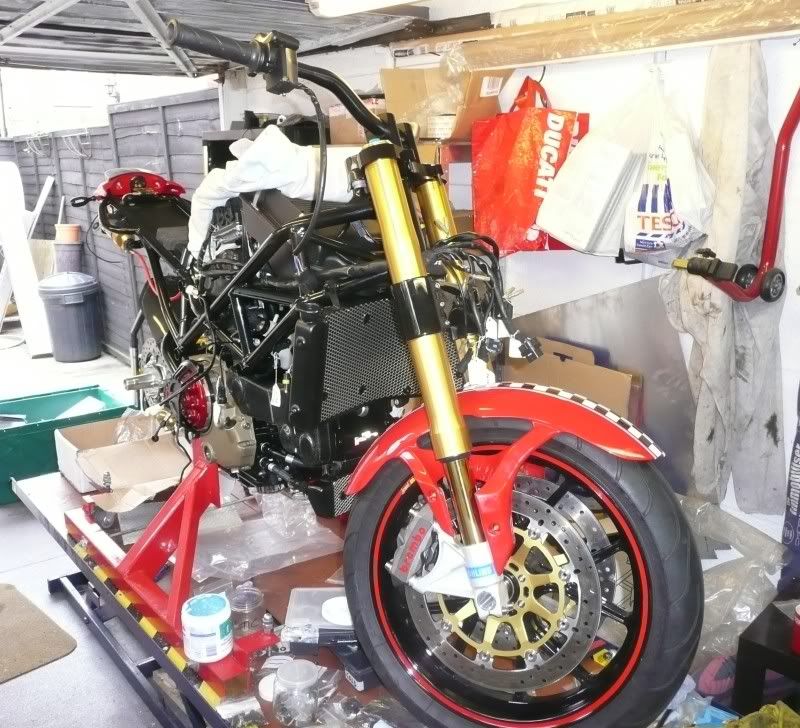
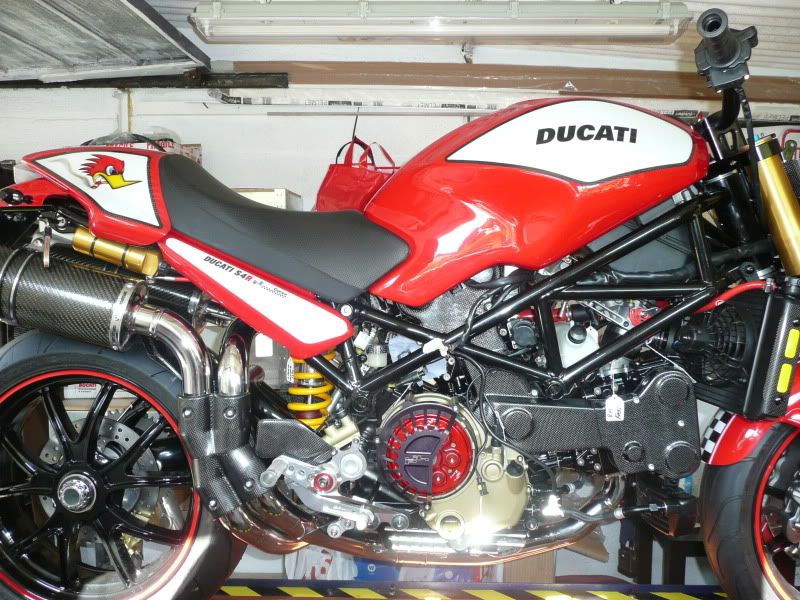
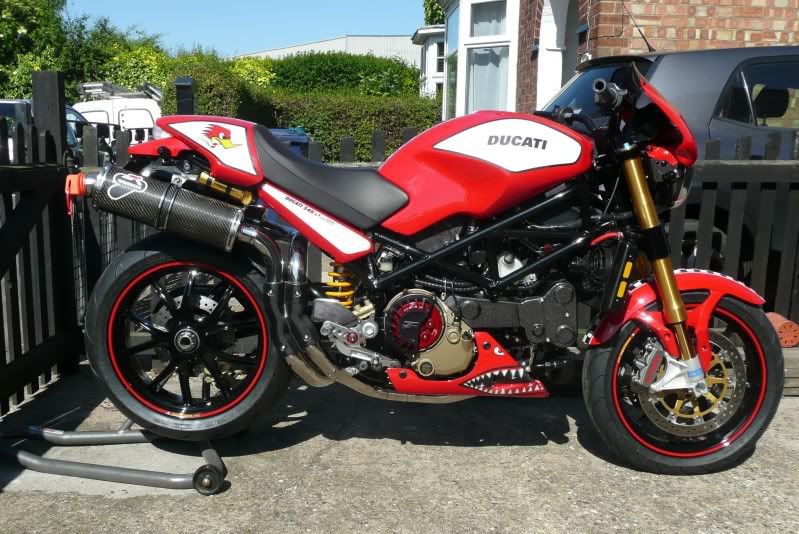
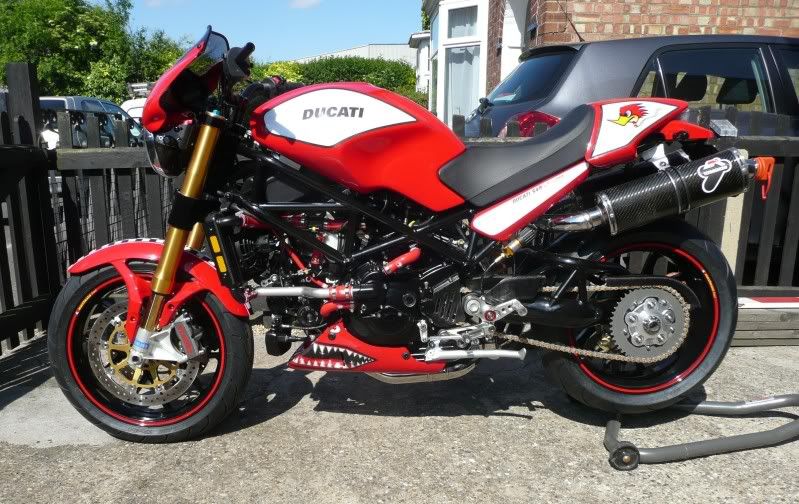
The rest was pretty straight forward albeit involving quite a few ‘dry’ fits to get every thing to fit (not one piece of carbon fiber fitted exactly first time) and a lot of strangling the wiring loom and fuel hoses. I would estimate that over a 1,500 man hours went into this build.
Don’t ask me about costs I dare not calculate it (if I did it would probably cause me to seek out the tallest building in my locality and jump off it), all I can say it was not cheap.


 Linear Mode

