Register | FAQ | Members List | Calendar | Today's Posts | Search | Contact |
|
Registered
Members: 676 | Total Threads: 50,946 | Total Posts: 519,473 Currently Active Users: 2,094 (0 active members) Please welcome our newest member, Humph |
|
|
Thread Tools | Rate Thread | Display Modes |
20-03-2016, 09:47 PM | #1 |
Guest
Posts: n/a
|
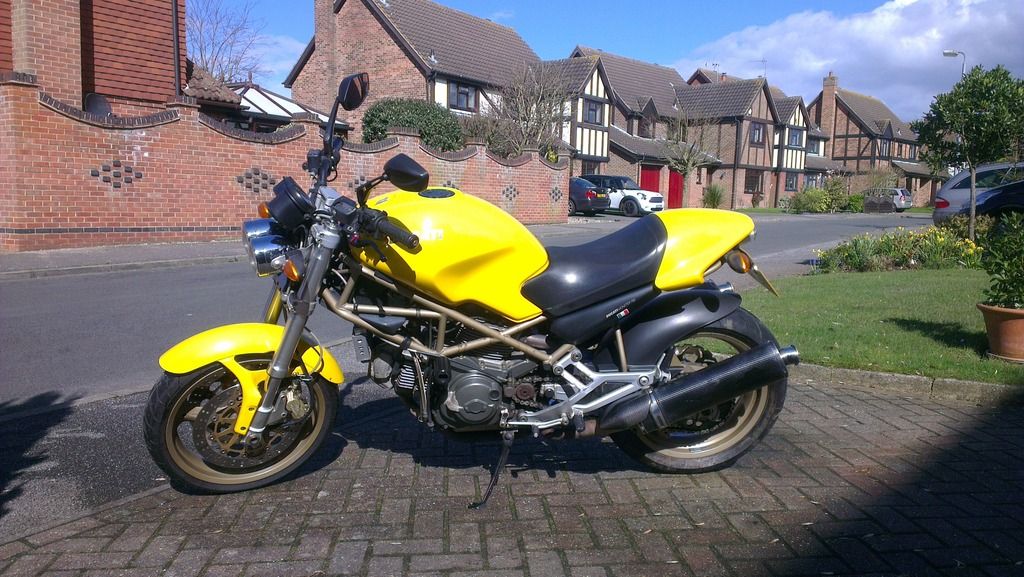
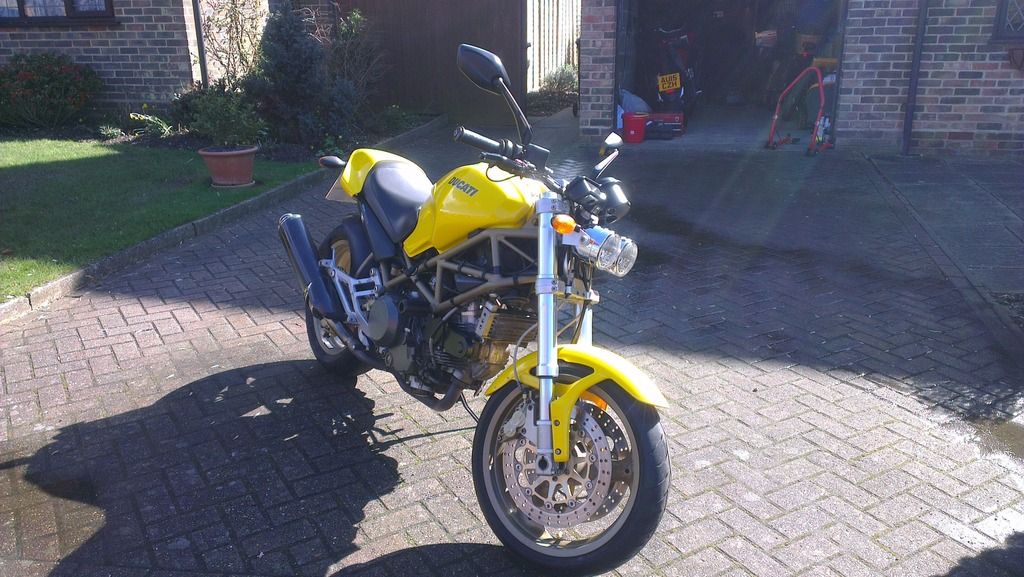
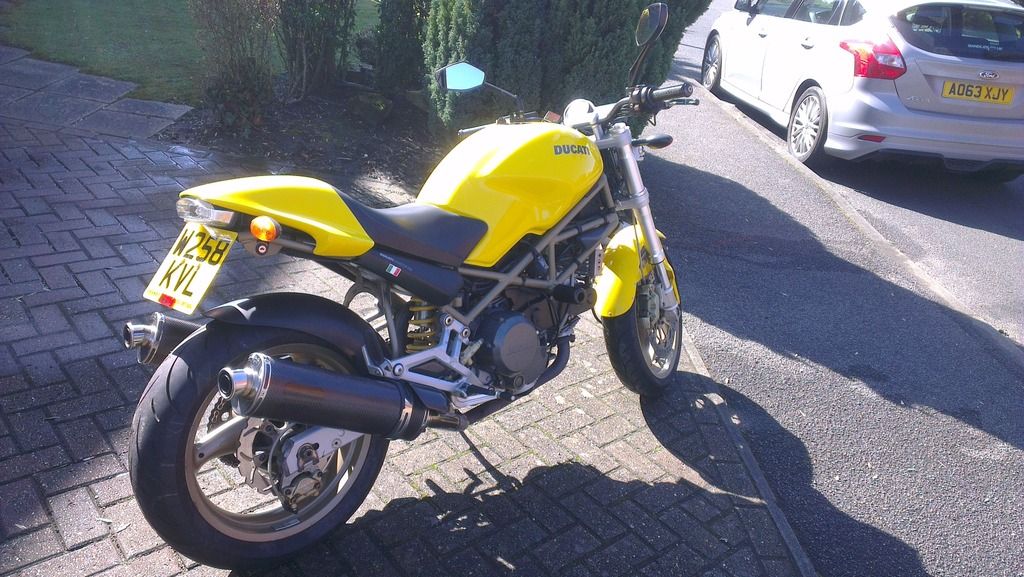
Ross' Yellow M750
Good evening all,
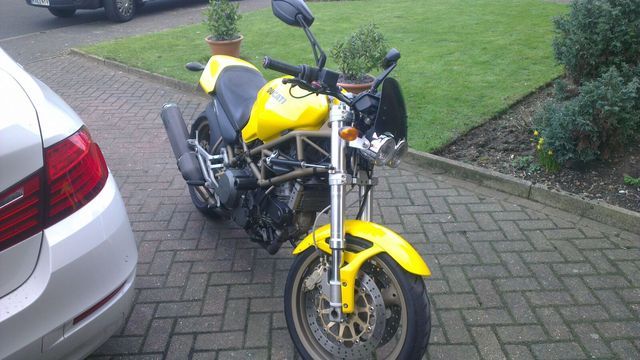
I bought my M750 (first bike) from a chap off this forum in Feb. It's been sitting for a couple of weeks but I'm now in my Easter leave so thought I would tackle a few jobs that need doing. They are.. - Cambelts - Oil and filters - Brake and clutch fluid - Remove exhaust and re-lacquer the carbon Today saw me get her out of the garage and get to familiar with the layout. I'm a (fairly new) mechanic by trade, but have never worked on bikes before. I started off with the belts today, the most difficult bit being getting the covers off! I ended up having to remove a pipe from the oil cooler to get the bottom cover off. I then found out the bike is missing it's tank prop, which made getting the top cover off a bit trickier. Anyway, belts off, bearings checked and new belts back on using the 5mm allen key method. Few turns over by hand and everything seems good. Attempt to start her back up only to find the battery is too low, so it's on a pulse charger until tomorrow. I'll then drop the oil out after a little warm up and get the filter done hopefully. One thing that did stump me today - I bought the service kit from Moto Rapido but the plugs supplied had the caps on the connector end, whereas my old plugs were the bare thread. I'll attempt to unscrew the caps from the new plugs tomorrow, as I'm hoping they just come off? That's all I really got done today, apart from taking off some left over belly-pan mounting brackets from the last owner. As soon as funds allow, the front light will be getting changed to an original single unit, unless I wake up one morning and fall in love with the twin set up... |
21-03-2016, 12:45 PM | #2 |
Guest
Posts: n/a
|
So today saw me recheck the belt tension because I forgot to move the vert. cylinder to tdc. No need to worry as that was all fine.
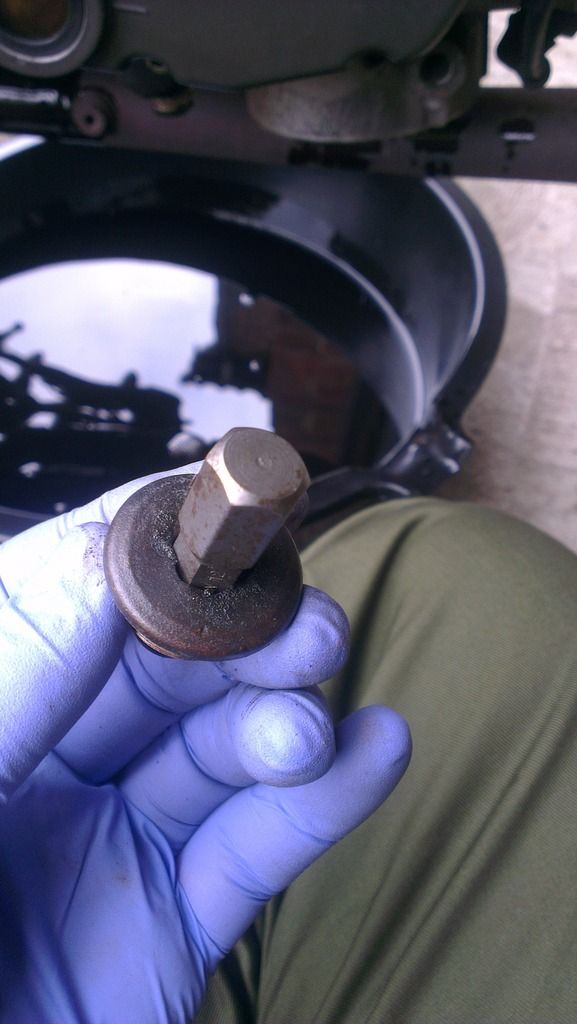
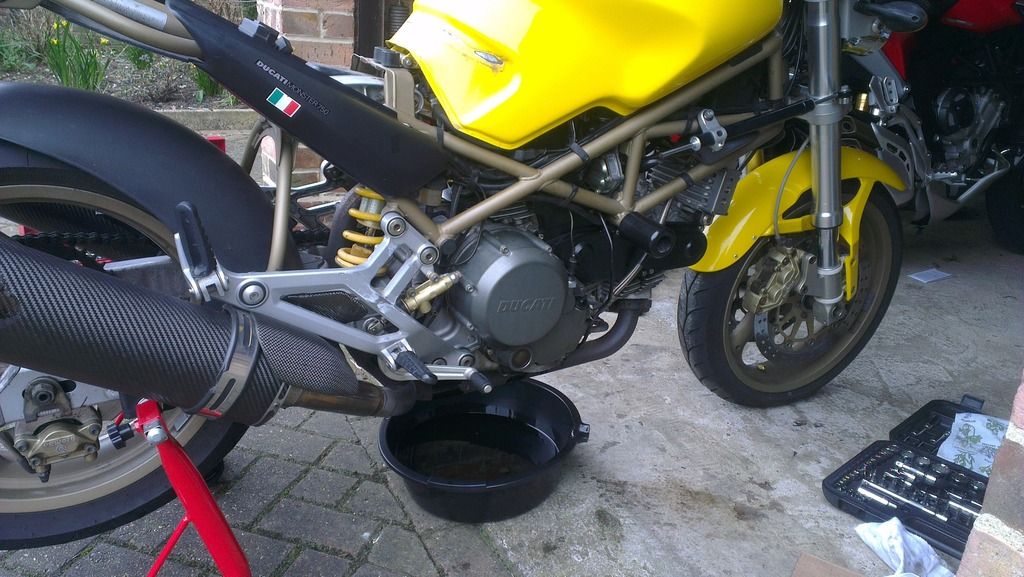
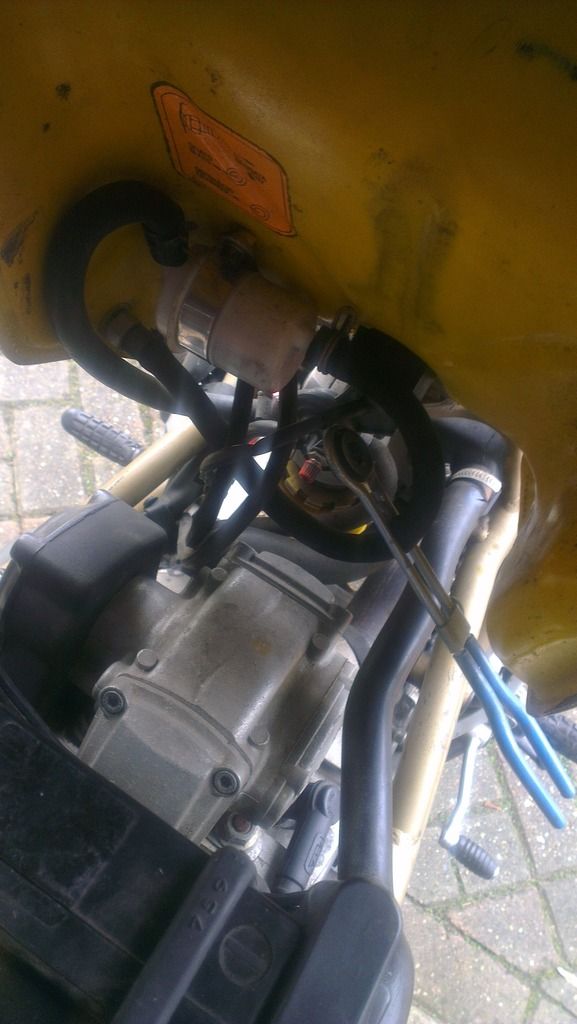
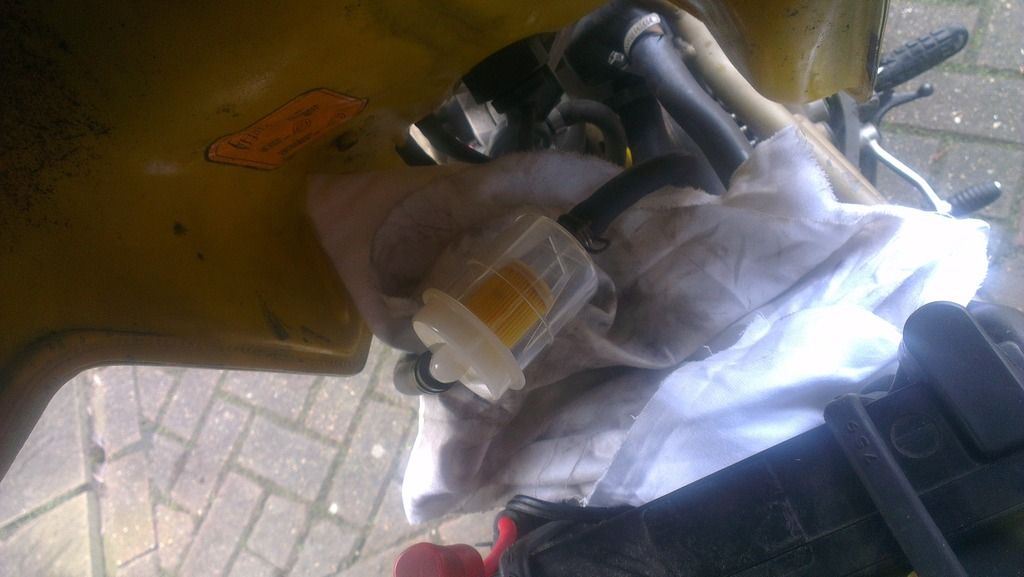
Moment of truth and she started up after a few seconds turning over, nothing to worry about there. I left it idling for 20 mins to warm the oil through before I dropped it out. It was then that I realise that at some point the sump plug has been rounded off. I read that I should be a 10mm hex bit, but it looked more like a torx bit and the 10mm was very loose. Managed to get it off but I'll now have to wait for a new sump plug to arrive before refilling it. The next job for today was the fuel filter, which was much easier than I expected. Simply clamp the inlet hose next to the filter, undo the small hose clamps and replace. New one on then found out the small bolt that holds the filter bracket to the underside of the tank has been snapped at some point and was held in by less than one turn of the thread. It's the same size (just a little shorter) as the cambelt inspection cover bolts, if anyone knows what size they are? M5 perhaps? Last edited by RossObey01; 26-03-2016 at 04:11 PM.. |
21-03-2016, 07:08 PM | #3 |
Too much time on my hands member
Join Date: Jun 2007
Location: Forest Of Dean
Bike: S2r
Posts: 3,208
|
The standard sump plug isn't made to the highest tolerances. Most I've had experience of are a bit sloppy.
Oh they also fit the filler hole rather nicely, just chop off the magnet holder section first.
__________________
"The final measure of any rider's skill is the inverse ratio of his preferred Traveling Speed to the number of bad scars on his body." Song of the sausage creature |
22-03-2016, 12:27 AM | #4 |
Registered User
Join Date: Mar 2010
Location: Beachtown
Bike: M900
Posts: 2,188
|
You need a proper hex head sump plug instead of the rubbish original.
Here's a cheapy one from M&P: http://www.ebay.co.uk/itm/Ducati-Mon...v5HMO9ZyWIeV4w Or for a quality billet one: http://www.avantiraceparts.co.uk/shop.php?id=3&cat=8
__________________
You're perfect, yes, it's true- But without me you're only you! |
22-03-2016, 01:47 PM | #5 |
No turn left unstoned
Join Date: Jun 2010
Location: leicester
Bike: M750
Posts: 4,561
|
I think the sump plugs are brass.
Mine is, and the basic form is cast/forged ... including the hex socket, which is actually slightly tapered to help its release from the "mould". Therefore an allen key will only make full contact at its very end, and hence the hex socket gets rounded off quite easily if you're just the slightest bit careless with it. Mine's fine, obviously ..... but I had to grind a hex key to the same taper to get the sump plug out of He11cat's engine. |
22-03-2016, 01:58 PM | #6 |
No turn left unstoned
Join Date: Jun 2010
Location: leicester
Bike: M750
Posts: 4,561
|
Also ....
Welcome from another 750 owner. Mine is the same model was originally the same colour and spec as yours (though since then its been orange, and now blue). You wont be disappointed. The tank props are rubbish and can cause the tank to twist on its hinge and then leak, particularly if used with a fairly full tank. Use an 18 inch length of wood wedged between tank recess and airbox instead. This is also much more secure and you wont knock it off the prop while working on the bike. The std prop is, in my opinion, worth having but only for use in dire roadside emergencies, not general maintenance. And, the little plastic end cap on it will break eventually. |
22-03-2016, 05:22 PM | #7 |
Guest
Posts: n/a
|
I've ordered a replacement from Moto Rapido, the standard hex key one rather than a bolt head, but I'll take care with it.
On the prop note, I've found a spirit level is just the right length to fit between tank and the handle bars, so no worries there! Hopefully tomorrow I can get the fuel filter back on, fill it up with oil and look to change the brake and clutch fluid. |
23-03-2016, 05:40 PM | #8 |
Guest
Posts: n/a
|
Changed the brake fluids without any drama, but when I started to pump out the oil clutch fluid it was an 'orrible brown colour. The bleed nipple was quite rusty too, so cleaned that up and filled up with fresh stuff.
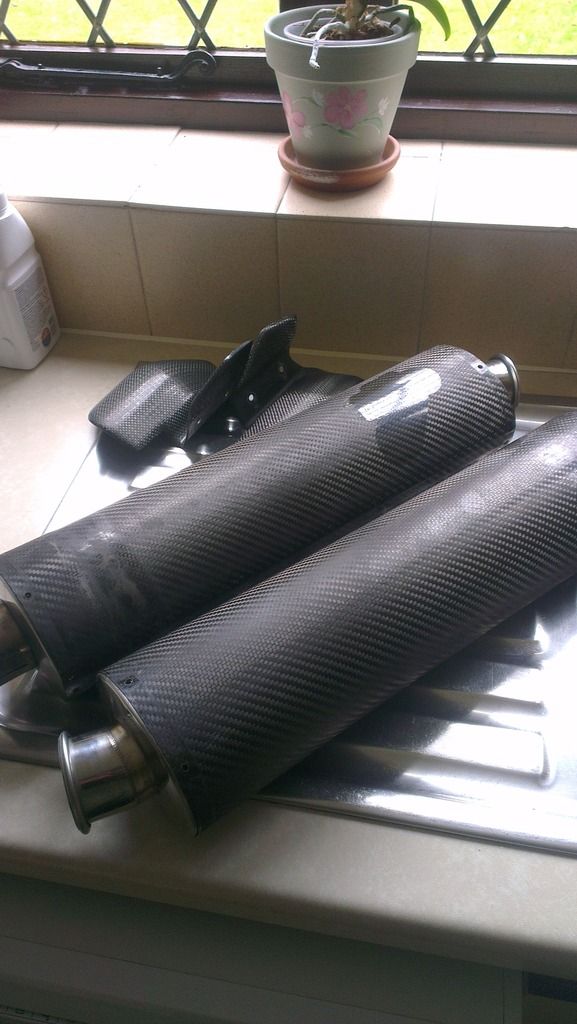
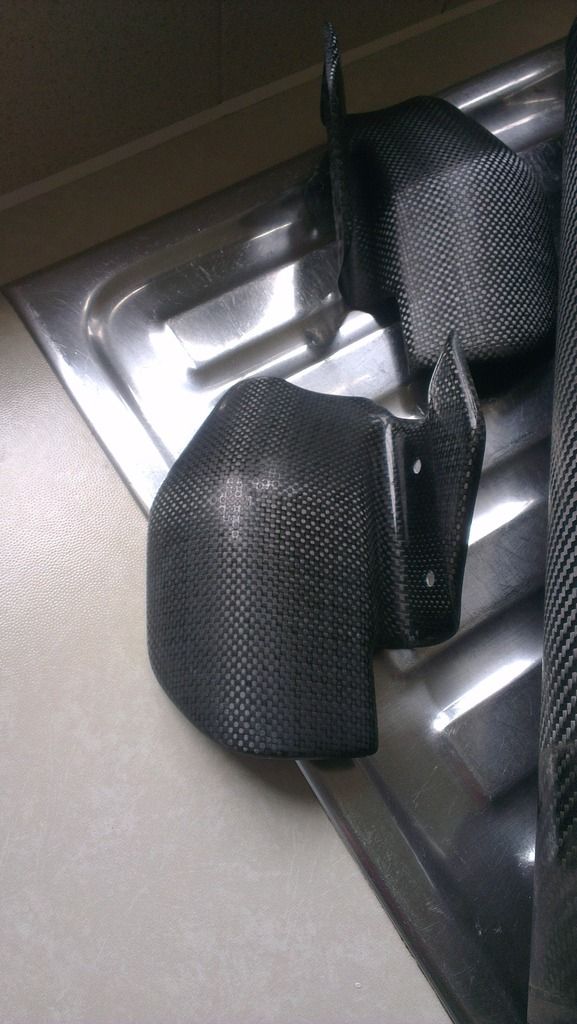
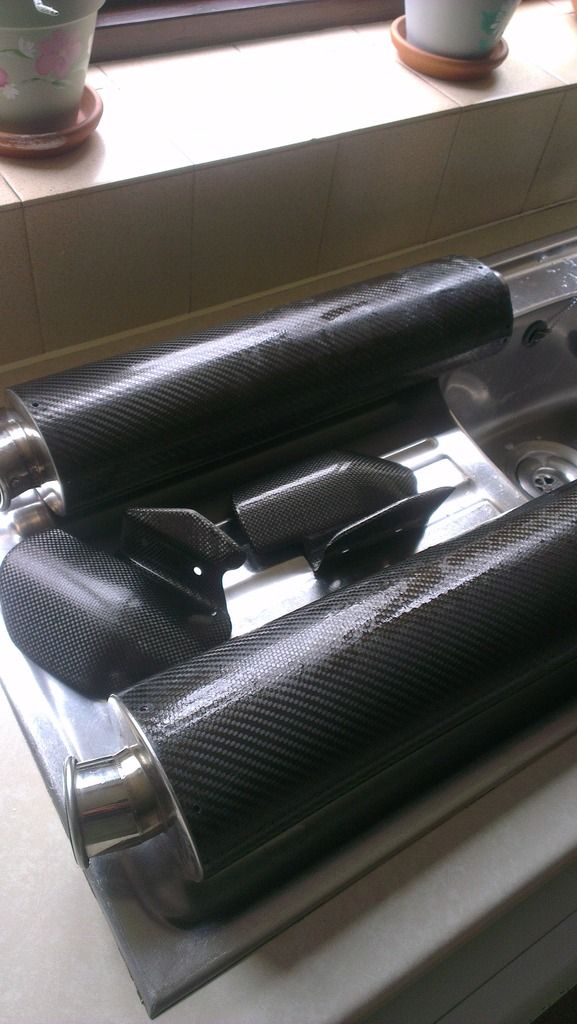
Exhausts now off ready for re-lacquering, will update with photos shortly! |
23-03-2016, 06:35 PM | #9 |
Lord of the Rings
Join Date: May 2013
Location: Norwich
Bike: M900sie
Posts: 5,983
|
Dirty or black clutch fluid is very common.
It will probably not stay clean for very long. Nobody seems to know why that is. My theory is that it's black from the alloy wearing in the slave bore, by normal piston travel or by spinning caused by the rotating pushrod. Your guess is as good as mine though.
__________________
|
24-03-2016, 10:13 AM | #10 |
Transmaniacon MOC
Join Date: Sep 2013
Location: Sutton In Ashfield
Bike: Multiple Monsters
Posts: 6,095
|
Don't forget to remove and clean the mesh strainer/pre filter on the side casing near the oil sight glass, if you've not already done so. Check for metal fragments.
__________________
Roast Beef Monster! Termignoni and Bucci - Italian for pipe and slippers! S4 Fogarty, S4R 07T, 748, Series 1 Mirage |
24-03-2016, 03:14 PM | #11 |
Guest
Posts: n/a
|
Thanks Darren. Unfortunately I remembered that once I'd finished topping it up. Will be sure to get it at the next oil change though, which won't be long.
|
24-03-2016, 04:40 PM | #12 | |
Fanactical volunteer
Join Date: Oct 2003
Location: Kent
Bike: M900
Posts: 9,034
|
Quote:
__________________
http://albies93m900.blogspot.co.uk/ |
|
29-03-2016, 04:48 PM | #13 |
Guest
Posts: n/a
|
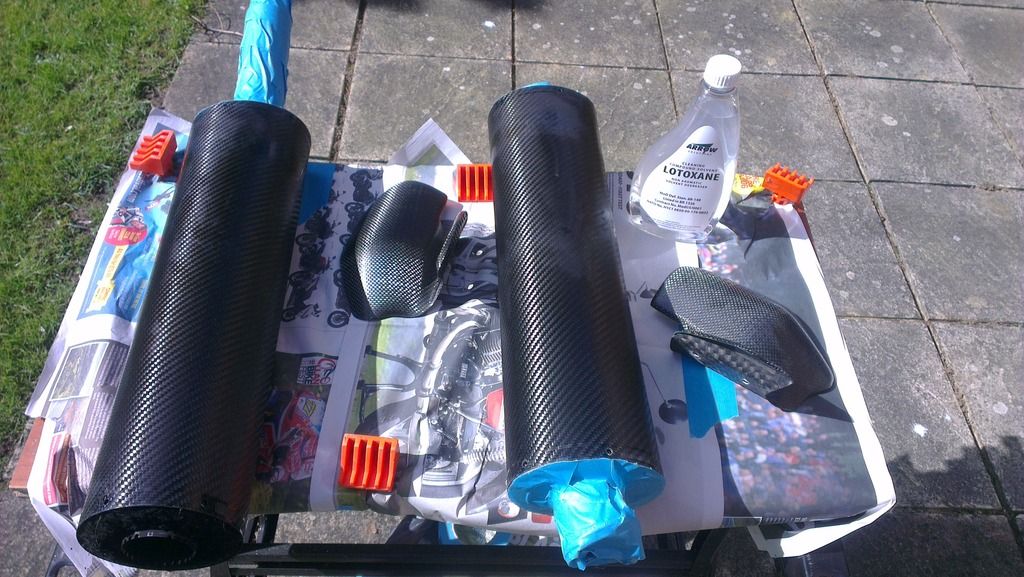
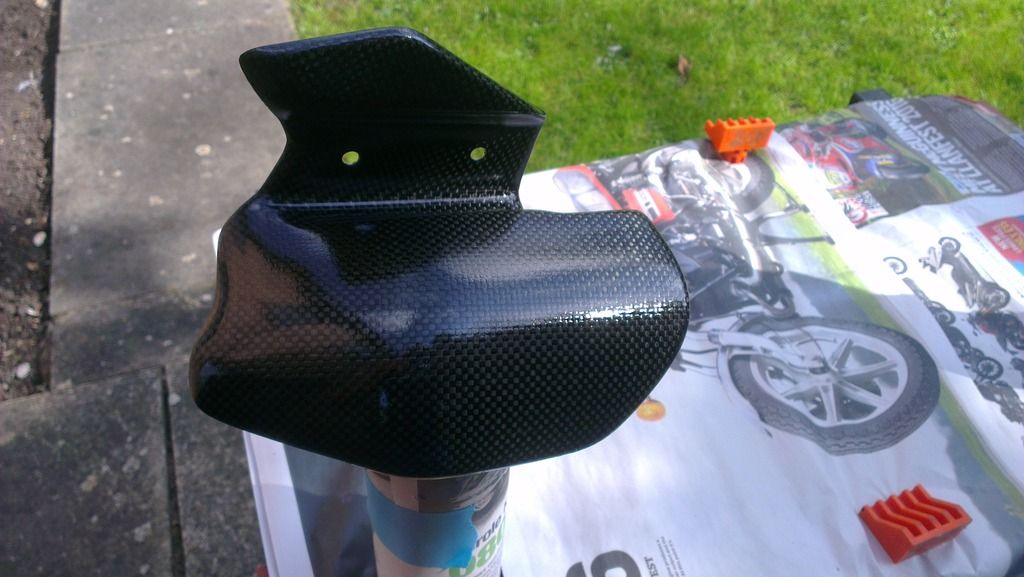
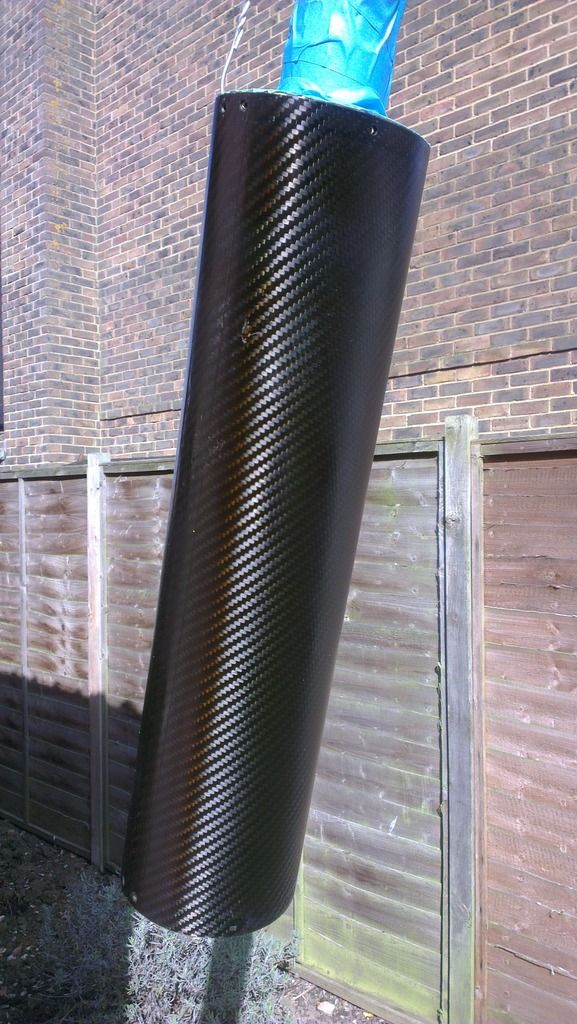
Well lacquering the cans didn't go quite as well as I'd hoped. I didn't get enough clear coat on them, so when it came to polishing them up the pattern of the weave was still obvious enough and trapped a fair amount of white polish residue. They do look better than before and I'm hoping with time the residue will fade (Or I'll scrub it off) and I'll get some clear wax on there.
Anyway a few befores and afters... Before... Given a little clean... Panel wipe and taped up... After a few coats the guards starting to come up quite well... They didn't look too bad after clear coat, before flatting... After that I flatted them down with 1200, 2000 then rubbing compound but could tell they weren't going to come up as good as I'd hoped. A final polish with Autoglym Super Resin brought them up quite well, but because the lacquer hadn't completely flattened over the weave, I got bits of polish residue in there. Not too noticeable in the photos but in direct sunlight you really can see it lurking. Anyway, she got a good clean today ready for the MOT tomorrow... |
29-03-2016, 07:35 PM | #14 |
No turn left unstoned
Join Date: Jun 2010
Location: leicester
Bike: M750
Posts: 4,561
|
You can get special polish for carbon fibre, which doesn't leave white residue in pin holes and suchlike.
Haven't tried it yet myself, but I intend to. From Easy Composites, if I remember correctly. Or maybe you could use a black-tinted car wax ... but I'd go for the dedicated stuff. |
29-03-2016, 08:18 PM | #15 |
Transmaniacon MOC
Join Date: Sep 2013
Location: Sutton In Ashfield
Bike: Multiple Monsters
Posts: 6,095
|
I've used back to black car cockpit and bumper cleaner on c/f to remove wax residue and stopped using wax polish for the same reason.
__________________
Roast Beef Monster! Termignoni and Bucci - Italian for pipe and slippers! S4 Fogarty, S4R 07T, 748, Series 1 Mirage |
|
|