Register | FAQ | Members List | Calendar | Today's Posts | Search | Contact |
|
Registered
Members: 675 | Total Threads: 50,942 | Total Posts: 519,443 Currently Active Users: 1,056 (0 active members) Please welcome our newest member, hp. |
|
|
Thread Tools | Rating: | Display Modes |
23-10-2015, 03:44 PM | #76 |
Guest
Posts: n/a
|
Thanks Darren69
Just checked their site and there's a Stage 2 kit for a 1997 M750 available, so am leaning that way. Cheers |
26-11-2015, 11:03 PM | #77 |
Guest
Posts: n/a
|
Beware paint strippers
Due to financial, recreational and time restraints (ie Just had her Christmas prezzy list, off on hols next week and currently working 12 hour days) this build will be on hold until the Christmas hols.
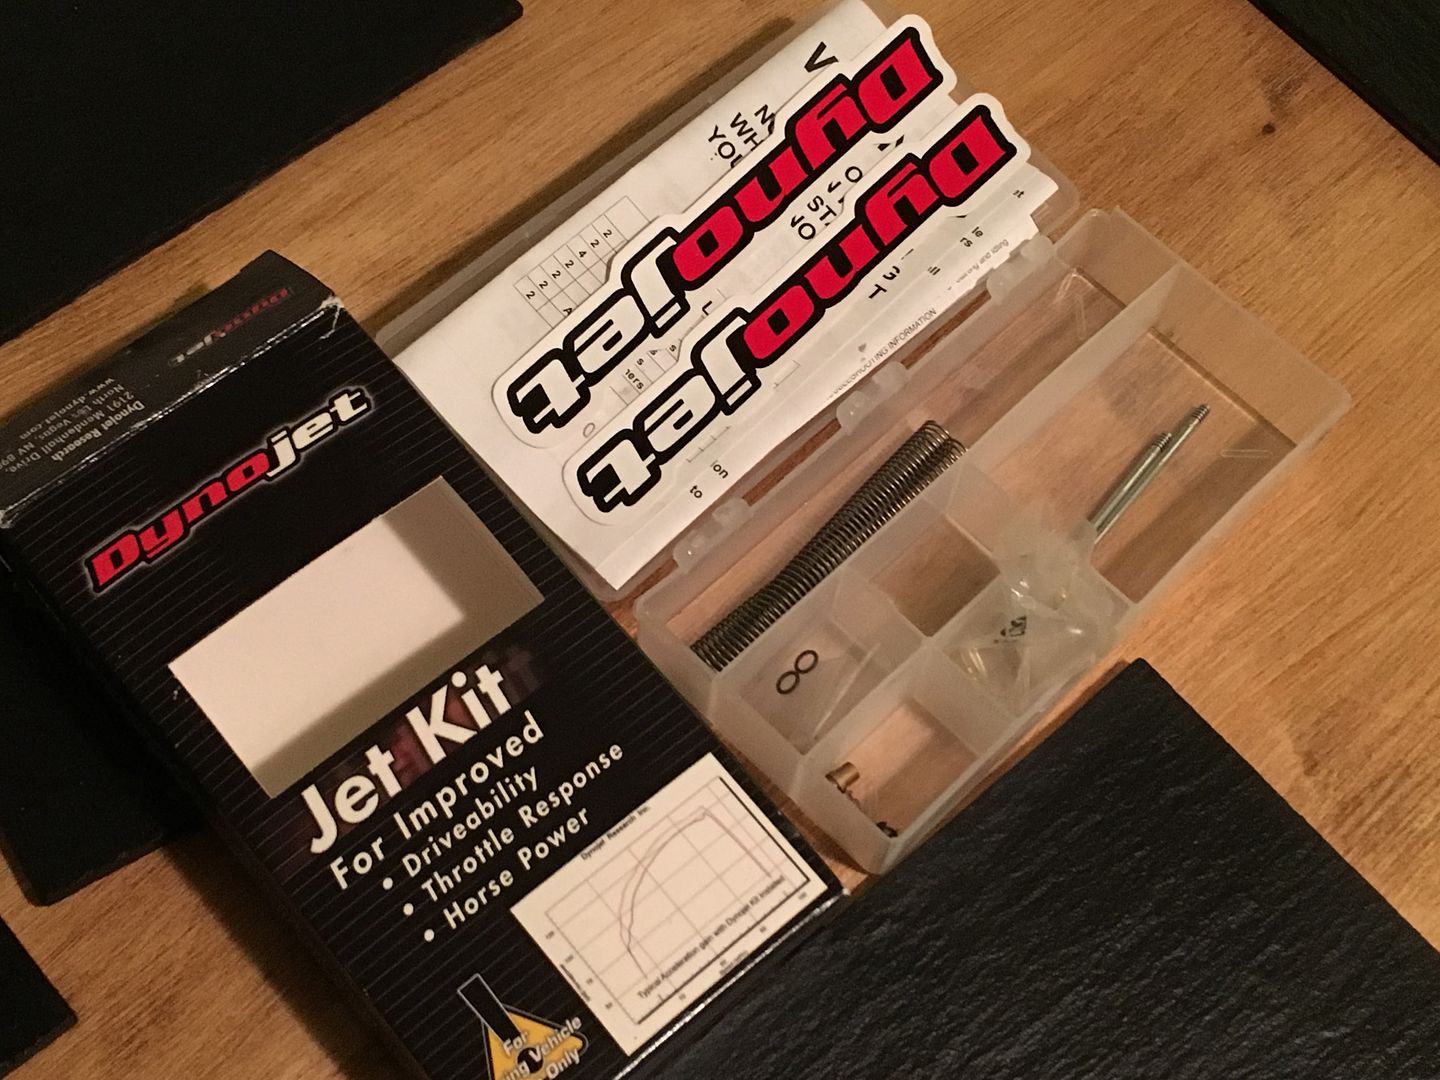
When I can afford the Dynojet kit that I need (£98 if anyone feels like contributing.....) and have some spare time the job will resume (Sorry JMH900sie -Joe - ultrasonic carb cleaning will have to hang on until the New Year) I have decided to carry on with jobs that are free, like redoing the paintwork - black with red, white + green stripes just wasn't of a good enough standard or bling enough for the rest of the bike, so I have stripped the tank and am currently spending loadsa time sanding and priming, 5 coats so far and now down to 1000 grade wet and dry. The fella I bought the bike from (he says he bought it new) swears he never dropped it or damaged the tank, and yet there are 2 areas of filler on the tank which appear to be underneath the original red paint - anyone heard of tanks being sorted like this from the factory? WARNING TO ALL - Be very careful with masks, gloves etc when using strong paint strippers- the one I used had big f**k off letters saying "This substance has been suspected of causing cancers" (Don't want to sound like your granny, but I was sh**ting myself every time I opened the can!) |
26-11-2015, 11:37 PM | #78 | |
.
Join Date: Jul 2003
Location: East London
Bike: Multiple Monsters
Posts: 9,736
|
Quote:
animaluk had terrible trouble finding one without any filler after his chromo tank got dented. |
|
27-11-2015, 01:16 AM | #79 |
Guest
Posts: n/a
|
Seems your letting me have a blast on the rc8, I'll get them done before Xmas and you can pay me whenever.
Email me Jmhmotorcycles@outlook.com |
26-12-2015, 03:03 PM | #80 |
Guest
Posts: n/a
|
Been away, back now but full of turkey!!
Joe
Not been here for a while, ta very much for the offer. Carbs now sitting on the bench, split and ready to go (I'll send you a pic, let me know if I need to strip them further) Will get them up to you as soon as I can when i get back to work after the New Year. Only thing I've done recently is to mount my seat base on to the rear sub frame. I found home brew kit demijohn rubber stoppers to be ideal, easy to grind down to the right length (all 4 different!) to give me a level seat when the underside of my fibre glassing wasn't exactly true for line and level!! Should be back on the job in January - am talking of a trip to the Loire in May so must get a wiggle on soon. Happy New Year all. |
26-12-2015, 08:25 PM | #81 |
Silver Member
Join Date: Sep 2010
Location: Lincoln
Bike: M1000ie
Posts: 594
|
I wished id salvaged the jet kit out of my wrecked 750. I got to be honest though. Spent a long time messing around with it getting it right with an open top airbox and wished id never bothered wasnt that much difference
|
26-12-2015, 08:37 PM | #82 |
Silver Member
Join Date: Sep 2010
Location: Lincoln
Bike: M1000ie
Posts: 594
|
just had a look in the garage and still have half of the kit in there if you want it its yours so you can play around. the stickers alone must add 10hp!
|
26-12-2015, 08:42 PM | #83 |
Silver Member
Join Date: Sep 2010
Location: Lincoln
Bike: M1000ie
Posts: 594
|
Its a stage 2 by the way
|
29-06-2016, 08:19 PM | #84 |
Guest
Posts: n/a
|
Back on the case and needing help .......again!
Here we go again.
Have had carbs ultrasonically cleaned, fitted the Dynojet stage 2 kit and reassembled both carbs. Now we are back to Short(ish) Term Memory Loss Land! I hope someone can tell me where the cable guide and oil pipe go (arrowed in pic) I took loads of photos when I was disassembling but there's always something somewhere I miss! I think the cable guide fixes to the u/s of the float bowl somewhere, but which way round and where I can't tell. My vague memory is that the oil pipe runs between both carbs carrying hot oil for de-icing and goes from one float bowl to the other. My guess is it connects to the two inner banjo bolts in the float bowls and the oil feed from and return to the oil cooler attach to the outside two. Can anybody help with either, a pic would be ace! |
30-06-2016, 04:53 PM | #85 |
Guest
Posts: n/a
|
Can't help with the oil pipe as mine has electrical heaters, but the cable guide is attached (at least, on mine) to the r/h side carb as we look at it. It goes on the left side of the bowl, with the cable holders uppermost and obviously facing away from the carb. On mine, they were attached with 2 longer allen bolts than the rest.
Edit, just noticed your carbs are upside down in the photo. So either turn them over then follow the instruction, or fit them to the left (in the pic) carb, with the cable holder towards the bottom. It's fairly obvious once you marry the notch in the cable guide up to the idle screw. |
01-07-2016, 07:39 AM | #86 |
Guest
Posts: n/a
|
Thank Ross
Job sorted - after joining and splitting carbs twice! |
05-11-2016, 12:29 PM | #87 |
Guest
Posts: n/a
|
Been trying to learn a new skill
Back again
Got myself a quote for a rewiring that came out way above my budget (£1200-£1500!!) so have had to unskillfully learn a new skill - motorcycle electrics!! With no real knowledge of electrics I have had to start from scratch. Youtube, Google, handy mates (Thanks Rog + Bry) and various books and manuals have all helped me out, but I'm not letting anyone else do any work on this bike that I can do myself. I have to modify the loom because when I chopped the tail off the bike, I had to move the fusebox from under the seat to under the tank, where the airbox used to live. If only the wiring on the bike matched the colours in the Haynes manual!! Will be pestering people soon with the likes of "Where does the red/green go?" This is where I am at:- Reckon I'm going to be putting in some cold hours out the shed this winter!! Don't know how anything got done before the anoraks started putting "how to" videos on Youtube so dolts like me can feck it up even further!! I started from the handlebar ends, trying to make the electric cables look more like the braided hoses, braided throttle and choke cables. Haven't come out quite as I wanted but happy enough for now. Next/continuing job is to finish the mods to the loom and get everything working - easy f*****g peasy!! Take it easy all. |
05-11-2016, 02:13 PM | #88 |
Lord of the Rings
Join Date: May 2013
Location: Norwich
Bike: M900sie
Posts: 5,976
|
__________________
|
05-11-2016, 02:43 PM | #89 |
Fanactical volunteer
Join Date: Oct 2003
Location: Kent
Bike: M900
Posts: 9,034
|
Why don't you use a piece of heat shrink rather than insulation tape and be neater
__________________
http://albies93m900.blogspot.co.uk/ |
06-11-2016, 07:41 AM | #90 | |
Guest
Posts: n/a
|
Quote:
Insulation tape and cheap Chinese bullet connectors are from mods by a previous loom butcher, someone almost as electrically untalented as me has been chopping wires about when the bike was in a previous incarnation. I found one earth wire coiled up under the tank with 3 bullet connectors in a length of about 200mm!! Have attempted to solder and heatshrink all connections wherever possible, retaining the original connectors. (Will post some pics when the frosts melts off my shed) Was sorely tempted to rewire from scratch after watching a couple of vids on Youtube, this may yet turn out to be the best plan!! Appreciating any comments on what I'm doing wrong Cheers |
|
|
|