Register | FAQ | Members List | Calendar | Today's Posts | Search | Contact |
|
Registered
Members: 676 | Total Threads: 50,945 | Total Posts: 519,467 Currently Active Users: 1,021 (0 active members) Please welcome our newest member, Humph |
|
|
Thread Tools | Rate Thread | Display Modes |
16-11-2016, 01:38 PM | #31 |
No turn left unstoned
Join Date: Jun 2010
Location: leicester
Bike: M750
Posts: 4,561
|
Well, I can't imagine how, particularly if that was water in the cases, but I think you may just have struck lucky.
There looks to be no damage on the shaft which would indicate a failed bearing. The grooves won't be from the seals ... there is hardly any relative movement between shaft and seals so wear is unlikely. That's one reason that I suspect that damage on assembly is common, since failure is fairly common. I would normally tend to change bearings as a matter of course but, having had recent experience of just how difficult these are to replace and, bearing in mind (sorry) that this is an isolated system where failure will not have knock-on effects to other components, I would be inclined to regrease them and put it all back together. I would just change the outer seals. If I remember correctly, the grease spec calls for black, molybdenum disulphide grease, which is what I used. On another tack .. I notice you have budgeted for new half-rings for the valve stems. Are you aware that these acquire little "bedding in" grooves which will mean that if you fit new ones (or refit the old ones upside down) the valve clearance/s will all close up by approximately one shim size. I bought a full set, intending to change them .... 15k miles later they are still in the bag. Have a look at this thread. http://www.ukmonster.co.uk/monster/s...ht=valve+shims |
16-11-2016, 06:47 PM | #32 |
Guest
Posts: n/a
|
Thanks for the feedback. I'll match the grease up to some we have at work and get those done, seals will be changed.
As for the half rings, that's (hopefully) the price for the rings that go on the downpipe (with the clamp to the head), rather than valve rings. However, I do need to close up some clearances on the valve shims, so will attempt the upside down trick before re-shimming. Swing arm is stripped down now ready for powder coating. The rear caliper bracket has cleaned up nicely, so that will be staying as is. I did hit a slight snag when removing the chain guards on the upper and lower side of the swing arm. Upper came off fine, but the allen bolts holding the lower one to the swing arm had corroded badly. Two of the three bolts came out, but the last one wasn't budging. In the end the threaded insert in the swing arm started turning instead of the bolt. Fortunately it's the underside and out of view, as it had to be ground off flush with the swing arm. Last edited by RossObey01; 16-11-2016 at 06:51 PM.. |
17-11-2016, 05:44 PM | #33 |
Guest
Posts: n/a
|
Have measured the valve clearances now it's on the bench. Different set of gauges and a slightly different result, but fairly close to one's I did a few months ago.
Vertical Cylinder: Inlet opener: 0.05mm Inlet closer: 0.0635mm Exhaust opener: 0.05mm Exhaust closer: 0.0635mm Horizontal Cylinder: Inlet opener: 0.08mm Inlet closer: 0.0254mm Exhaust opener: 0.10mm Exhaust closer: 0.05mm Aiming for for 0.05mm (max) closer and 0.1-0.12 openers, both of my openers seem a bit too tight. I think I'll go the sand on a sheet of glass method and see where that gets me before looking to buy some. Can anyone tell me, (Utopia?) how much reversing the half-rings effects the clearance? Ideally I'd like to close mine up slightly, but if anyone can tell me before I try it that would be handy! It's thrown me a little, as I'd expect the clearance to get looser as the engine ages and shim wears? Or is it because the valve wears the seat and therefore gets closer to the rocker? Last edited by RossObey01; 17-11-2016 at 09:42 PM.. |
21-11-2016, 07:11 PM | #34 |
Guest
Posts: n/a
|
Started sanding the opener shims down today. Sheet of glass and some 800 grit paper. Took a while, but got both openers on the vertical cylinder within tolerance; intake 0.10mm and exhaust about 0.11mm.
I ended up taking 0.09mm off one shim and 0.011 off the other. Clearly my calculations don't work out somewhere, I think they were a bit tighter than I first measured. Either way, I'm now happy with how they feel. Will move onto the horizontal cylinder tomorrow. |
21-11-2016, 10:38 PM | #35 |
No turn left unstoned
Join Date: Jun 2010
Location: leicester
Bike: M750
Posts: 4,561
|
Ah, sorry ... didn't see your last post.
I've been solid busy, doing a conversion on my winter bike .. and it needs to be on the road pronto. Anyway. From memory, fitting the half rings upside down can alter the clearance by up to one full step in shim sizes. However, a word of caution ... It seemed obvious to me that this would only be a temporary alteration as the half rings would bed in the other way sooner or later ... probably sooner. The same seems logical if new half rings are fitted too. Therefore, despite having bought a full set of new half rings, I ended up preferring to stick with the old ones, carefully fitted the same way up as they came out. My new ones are still in the bag, 3yrs later. |
21-11-2016, 10:52 PM | #36 |
Guest
Posts: n/a
|
No problem. I'm going to have a better measure tomorrow now that the openers are within tolerance and see if I need to reshim the closers. I've been it mentioned in a couple of places now that changing the closer shims affects the opener clearance, is that right?
|
23-11-2016, 05:39 PM | #37 |
Guest
Posts: n/a
|
All valve clearances now adjusted. Swingarm off for powder coat tomorrow and engine prep starts. I've gone for VHT Cast Alu for the cases and barrels and Cast Iron for the side and valves covers etc.
A photo I found online comparing both colours side by side. VHT claims the paint will cure under normal running of the engine, so fingers crossed. |
23-11-2016, 05:54 PM | #38 |
Lord of the Rings
Join Date: May 2013
Location: Norwich
Bike: M900sie
Posts: 5,981
|
You'll like using the VHT paint. The whole system works well, from primer through base coat to lacquer.
There is a very short wait between coats so the whole lot goes on quickly in one session. Normal engine running heat is enough to cure the paint properly, but the belt covers don't really get very hot. I used an etching plastic primer on mine, then VHT over that. It has stayed stuck on and has cured okay too. On my previous Monster I used ordinary cellulose (with plastic primer) on the belt covers and sprocket guard... It worked fine. Worked on the steel clutch cover too.
__________________
|
23-11-2016, 06:05 PM | #39 |
Guest
Posts: n/a
|
I'm glad you posted there Gazza, because I hadn't thought about the belt covers until you mentioned them. My sprocket cover is the grey plastic at the moment, which needs something doing about it, but the belt covers are a good black already. I had planned to leave them, but as I will need to do the sprocket cover, I might look to do all of it in the same grey.
Looking at some photos now, I think I'll leave the belt covers black and just do the sprocket cover in the Cast Iron. Also, I wasn't going to use lacquer on the engine, would you recommend it? I'd wanted to avoid them becoming too glossy, but if it's going to give me a much more resistant finish it's something I'll consider. |
23-11-2016, 06:39 PM | #40 |
Lord of the Rings
Join Date: May 2013
Location: Norwich
Bike: M900sie
Posts: 5,981
|
I haven't done anything to the engine casings yet and I would agree with you that a glossy finish there would be wrong. If I ever get round to it I would like to have bare vapour blasted ally on the engine casings.
That worked fine on a couple of my old Brits, and is quite resistant to oil and road muck staining, but I was always pretty quick with the soap and water if I came anywhere near any Salt! I used the VHT Gloss lacquer on the outer covers, over Gold, which I think gives it an extra something, for both looks and protection. There was another reason that I lacquered them. I polished various areas of the covers before painting, and carefully wiped the wet paint off the raised polished bits. (The circles round the inspection windows and the Ducati name) So the lacquer helps protect the bits that would otherwise have been bare. Personally I think it looks more "all of a piece" if the belt covers and outer engine covers are all the same colour, but we're all different, which is why I spend a fair bit of time ogling pictures of other folks Monsters.. The Gold on mine was intended as a nod to the Matchless G50 and AJS 7R by the way.
__________________
Last edited by Mr Gazza; 23-11-2016 at 06:42 PM.. |
23-11-2016, 11:32 PM | #41 |
No turn left unstoned
Join Date: Jun 2010
Location: leicester
Bike: M750
Posts: 4,561
|
Another alternative for the belt covers is to dye them.
A few in the club have done it and I believe it works very well. There's a thread on it somewhere. I've been planning to do my sprocket cover for ages, but haven't got round to it yet so I can't give a recommendation from personal experience. But I've seen the results and it looked 100%. |
24-11-2016, 08:58 PM | #42 |
Guest
Posts: n/a
|
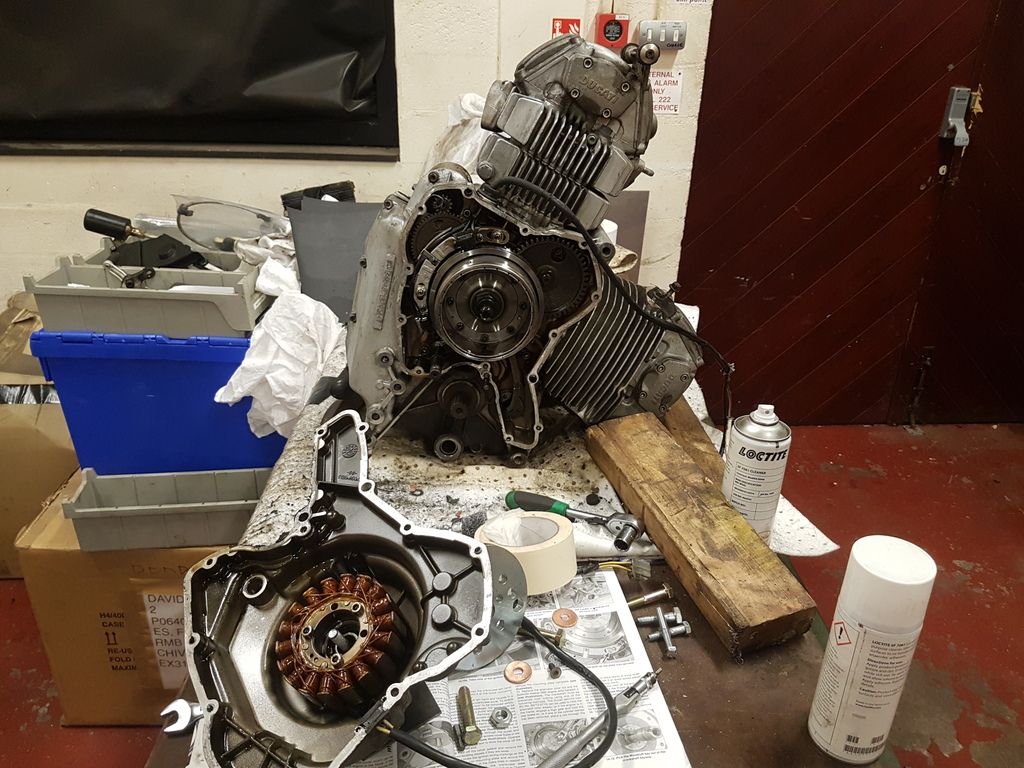
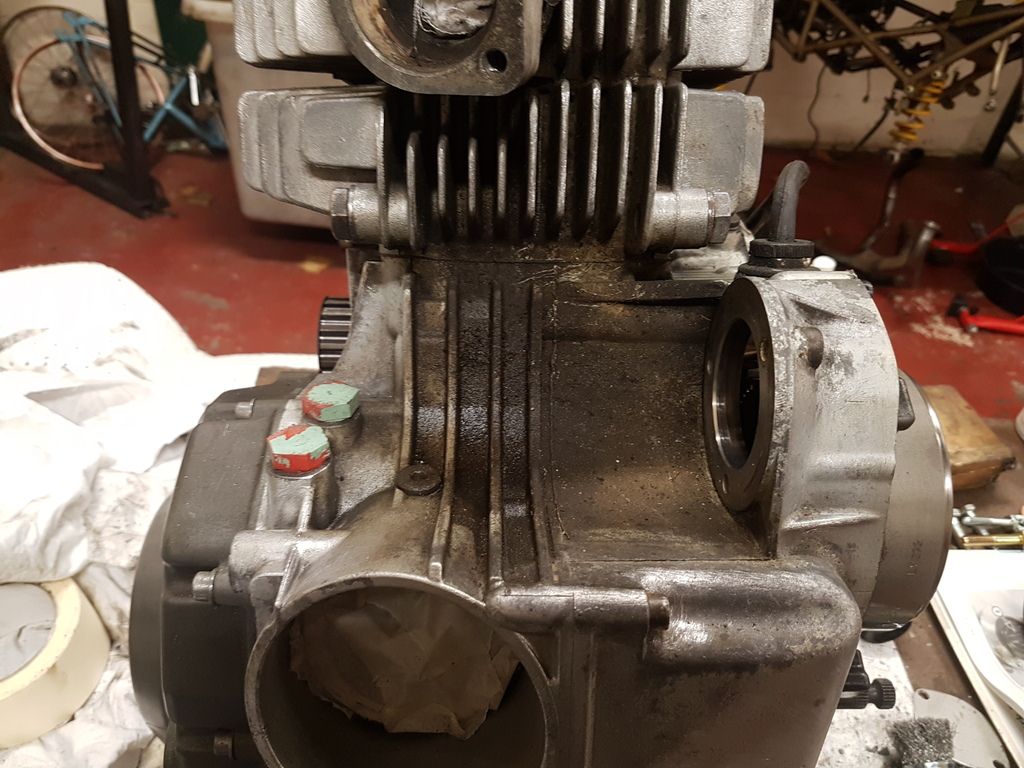
With valve clearances done today saw the start of trying to (!!) prep the engine for paint. It's a much bigger job than I thought, the underside is covered in grime and there's a lot in the fins I'm yet to get to.
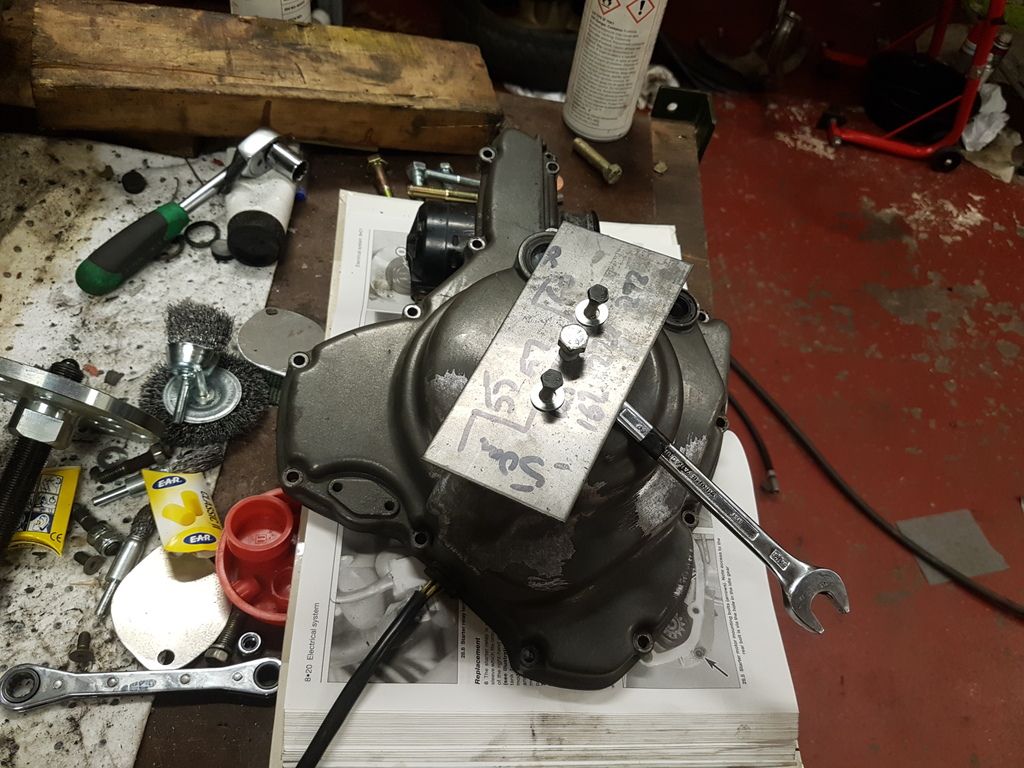
I knew under the starter was bad, so wanted to whip that off for paint. Only it's not as simple as a couple of bolts. With no puller to hand I knocked up a basic one with two bolts for the cover and a hole for a larger bolt to fit the shaft, with a nut on the inside, to save tapping the puller. Worked a treat and came off no problems. I'm using an assortment of wire brushes, both hand and drill attachments, but think I'll need to get some thinned ones to get between the fins. The airline helped, but won't shift anything that's crusted on. |
24-11-2016, 09:59 PM | #43 | |
Registered User
Join Date: Sep 2010
Location: Leics
Bike: M900
Posts: 2,901
|
Quote:
I cooked mine for an hour at 200c; Although dinners may have been somewhat less appetising than normal for a few days after...
__________________
M900, 916, LeMans II. Last edited by Dukedesmo; 24-11-2016 at 10:02 PM.. |
|
24-11-2016, 10:08 PM | #44 |
Guest
Posts: n/a
|
I'm trying to avoid splitting the cases and taking heads off, I've already broken it down more than I'd planned so need to stop somewhere! Not to mention the Mrs would have me living outside for the rest of the winter.
|
04-12-2016, 03:16 PM | #45 |
Guest
Posts: n/a
|
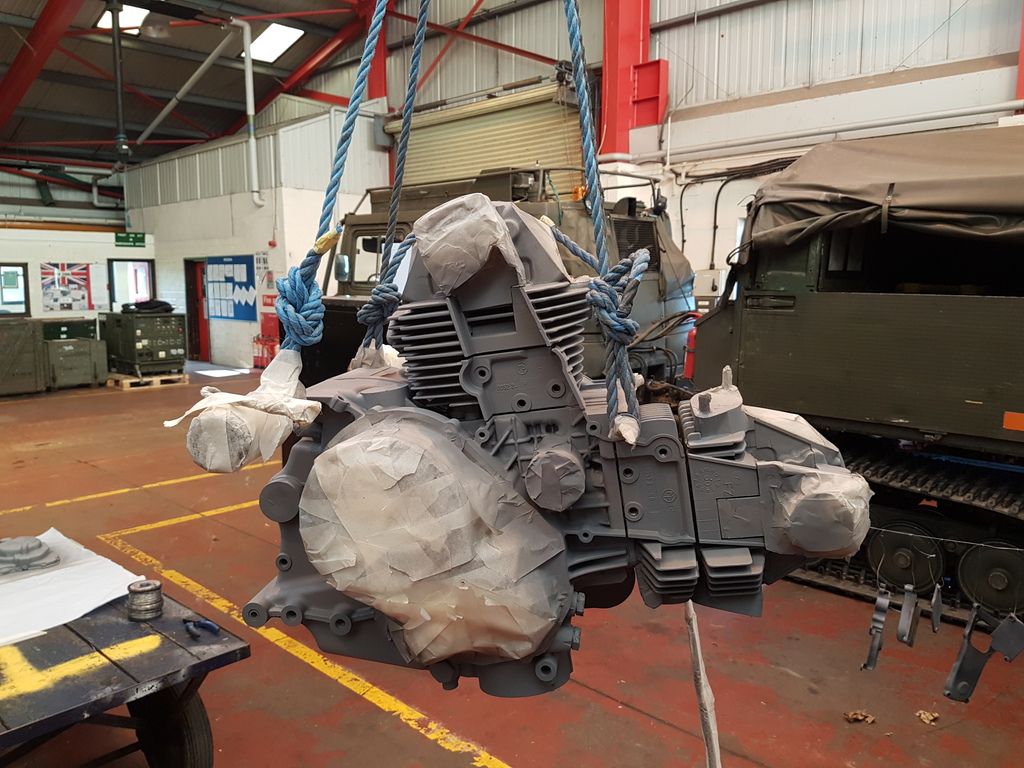
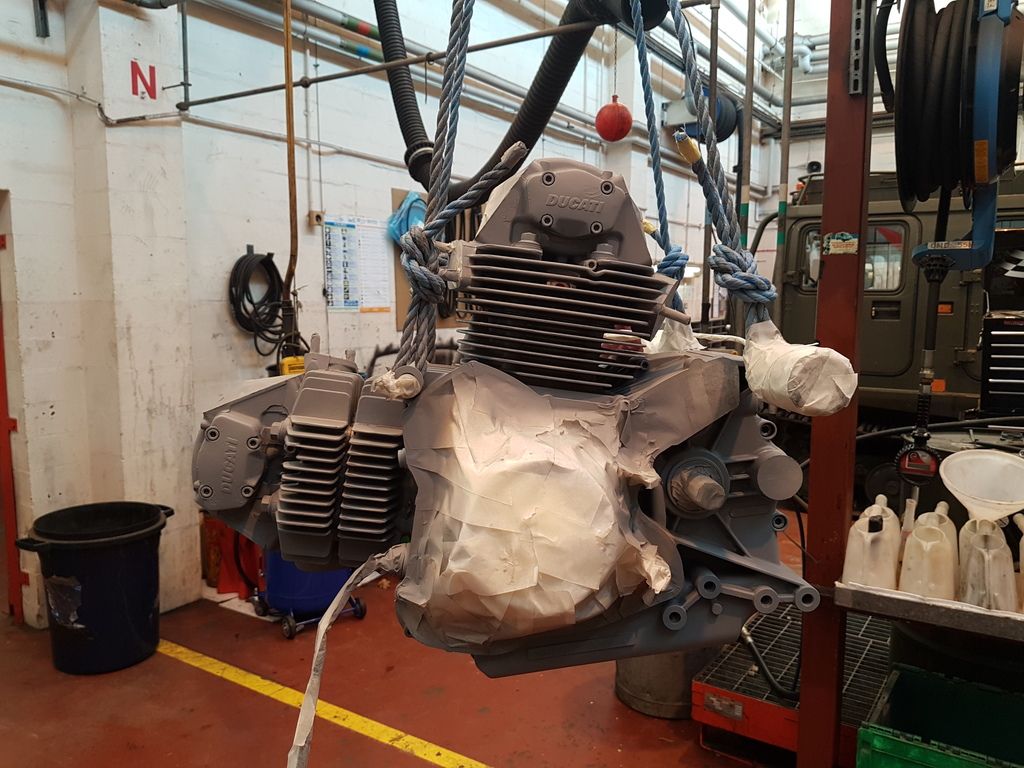
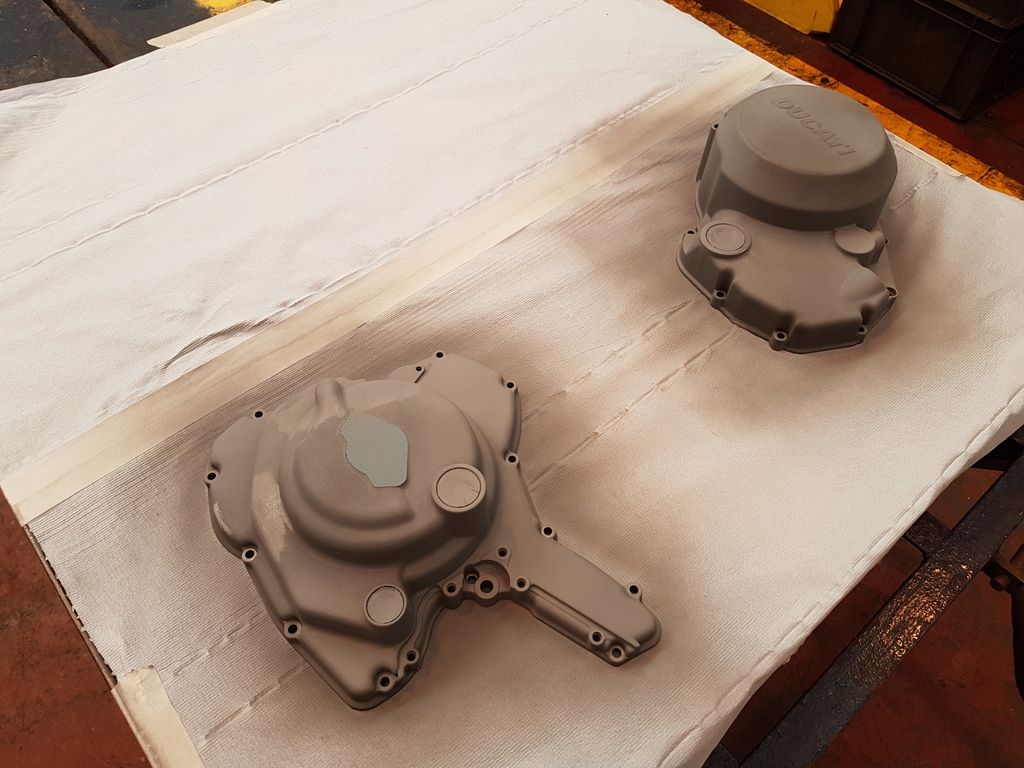
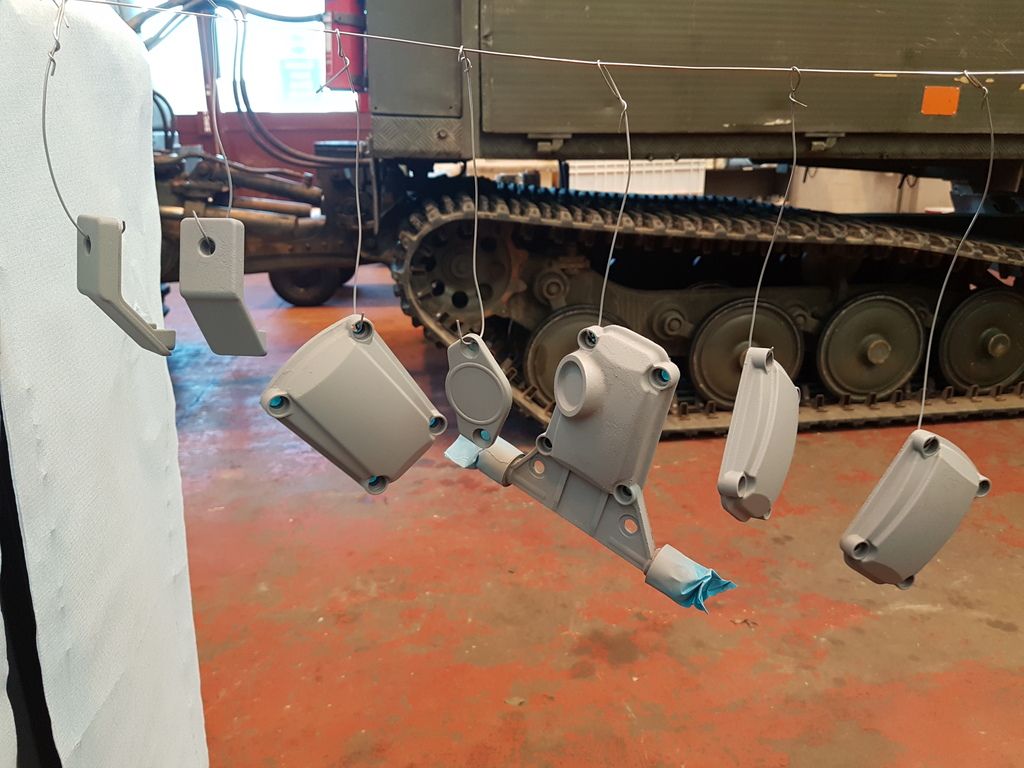
So what seems like months of evenings spent prepping the engine for paint, it finally time to get the cans out!
A fair bit of the engine and covers were back to bare aluminium so I went with a Halfords etch primer, hoping for some better adhesion before I lay the VHT down. Two coats of etch primer on everything before I move onto the VHT primer and top coat later this afternoon. I've got the swing arm end caps off, which will be the same colour as the covers. The oil cooler is also getting done, I'm yet to decide between silver or the grey, but will probably end up silver. Last edited by RossObey01; 04-12-2016 at 03:25 PM.. |
|
|