UK Monster Owners Club Forum » Gallery » UKMOC Bikes » Ducati Monster 900SIE

Reply
 
Thread Tools Rating: Thread Rating: 2 votes, 5.00 average. Display Modes
Old 15-05-2016, 07:52 PM   #1
blackthorn
Guest
 
Posts: n/a
Ducati Monster 900SIE

Hi guys,

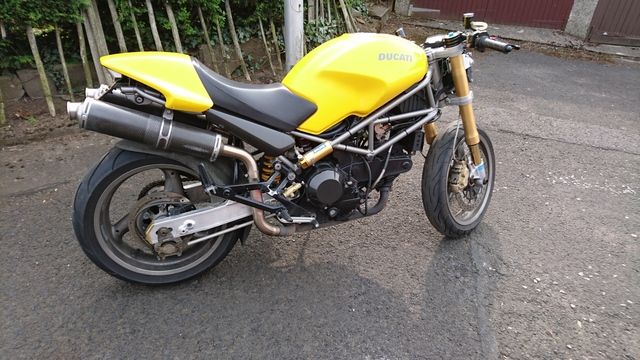
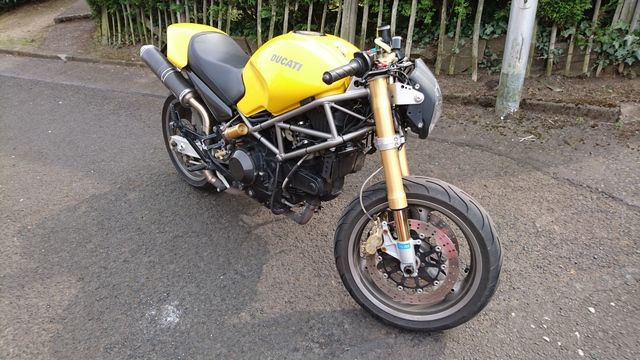
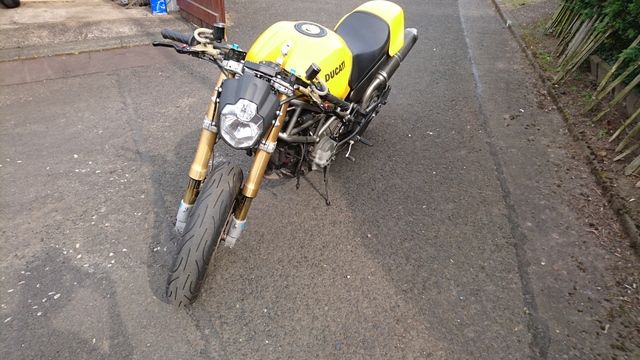
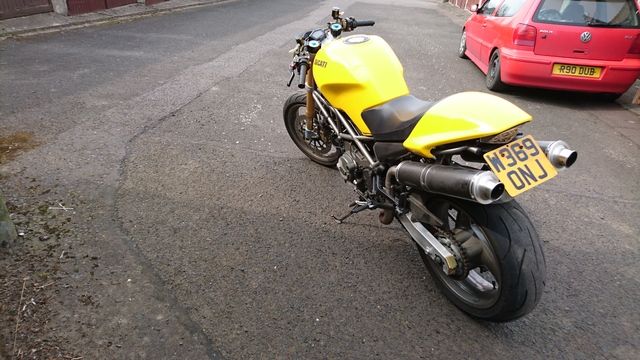
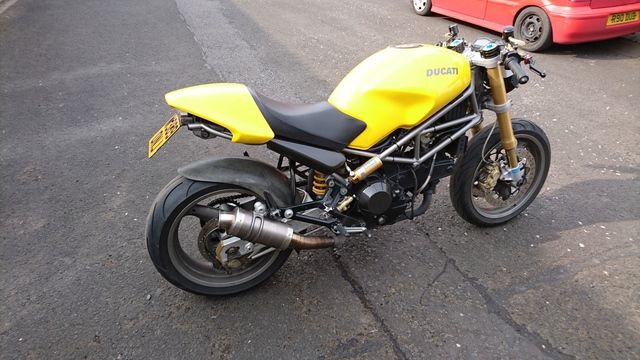
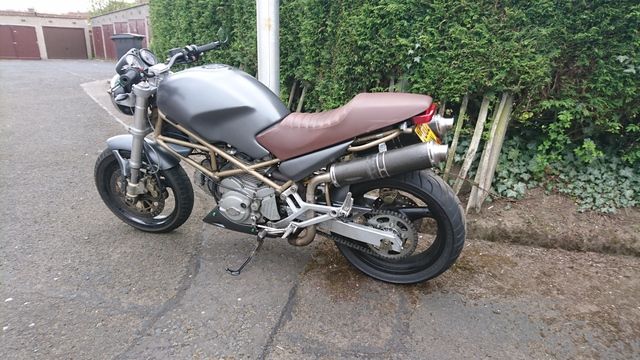
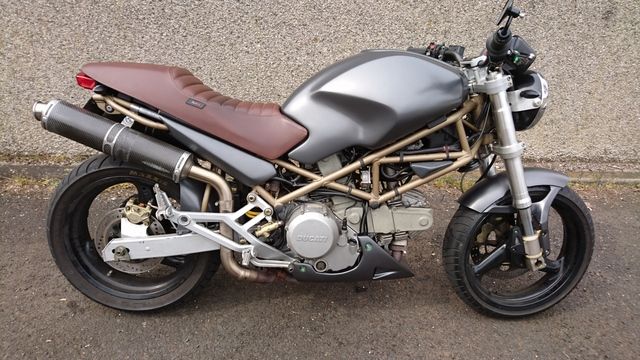
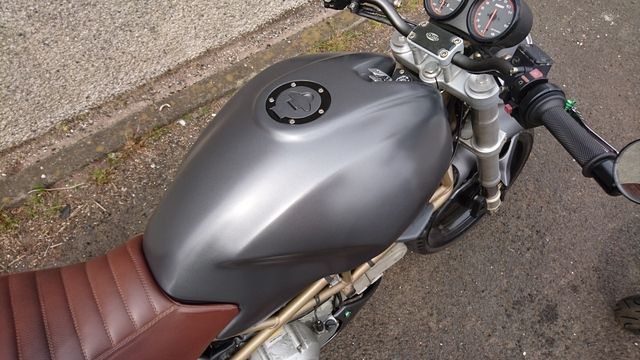
Thought it was about time i posted up a thread on my new bike! As many of you have probably already seen I've been having nothing but issues with this bike so far but yet i still love it! Still isn't running very well under load but finers crossed i get to the bottom of it soon with all this nice weather. I do have lots of plans for it but they are on hold just now!

When i got it:


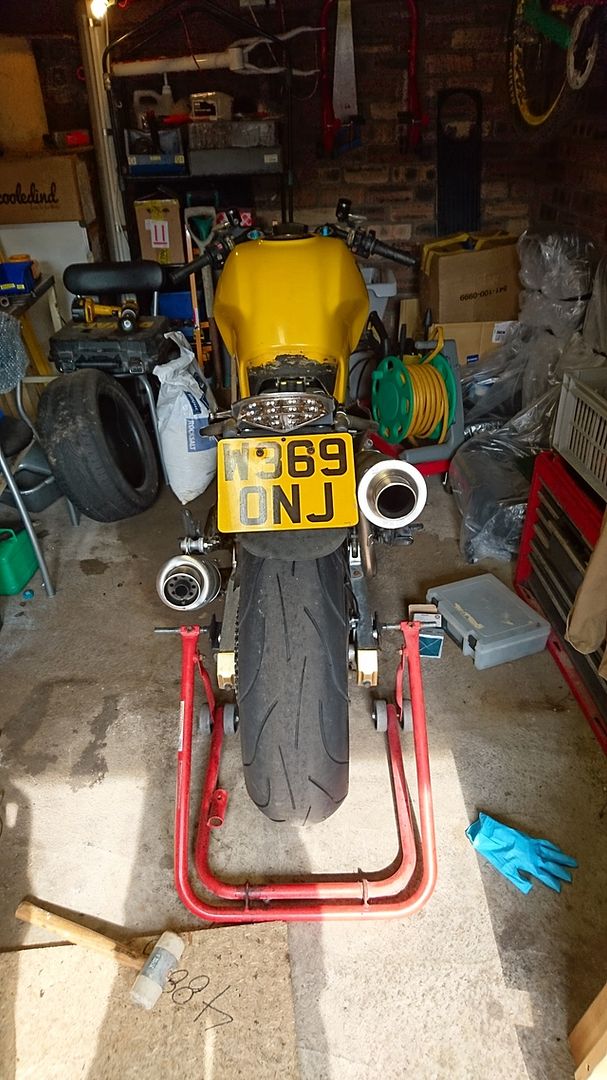
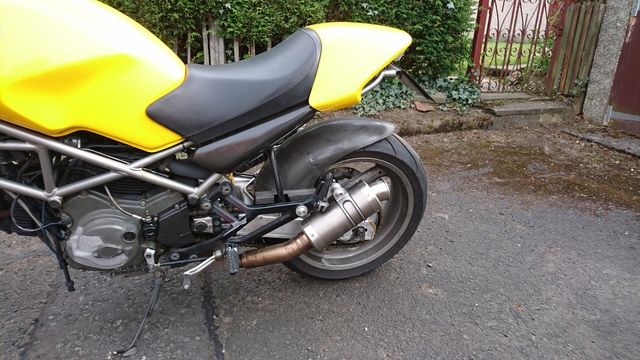
I'm not a fan of the SIL Motorsport cans so decided to swap them out for the stubbie Mivv titanium can's i had on my 600:


  Reply With Quote
Old 15-05-2016, 07:53 PM   #2
blackthorn
Guest
 
Posts: n/a
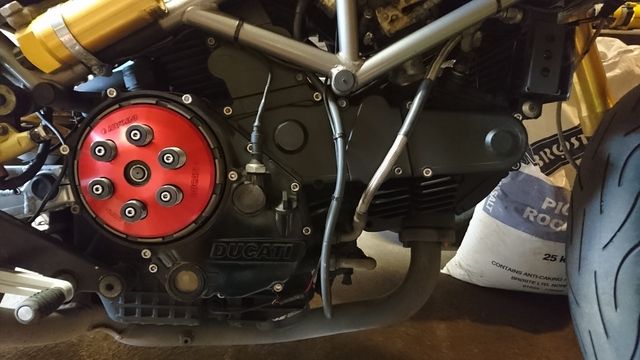
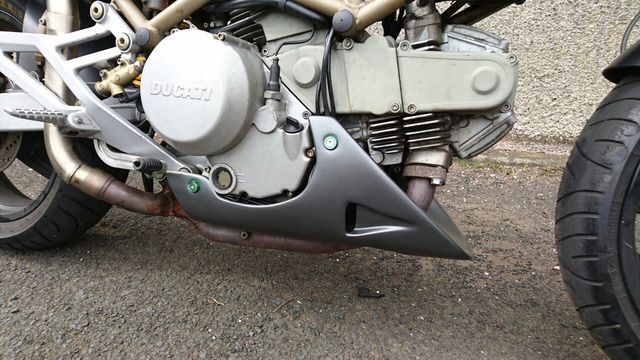
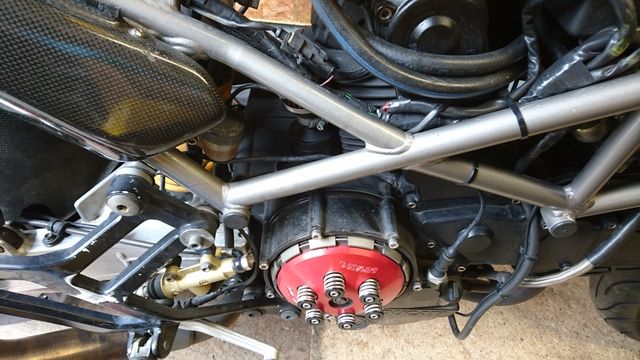
Replaced loads of bolt's with titanium ones and removed the clutch cover (need to order a half cover):


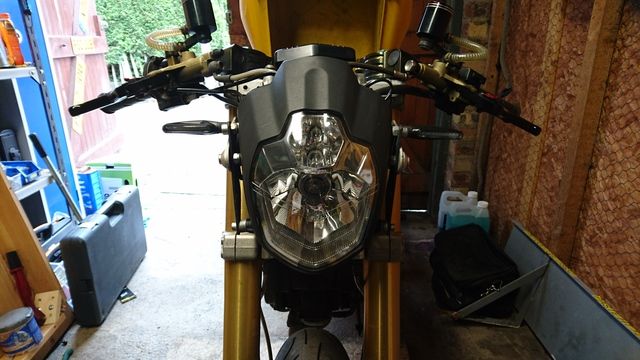
Fitted front indicators since it didn't have any:


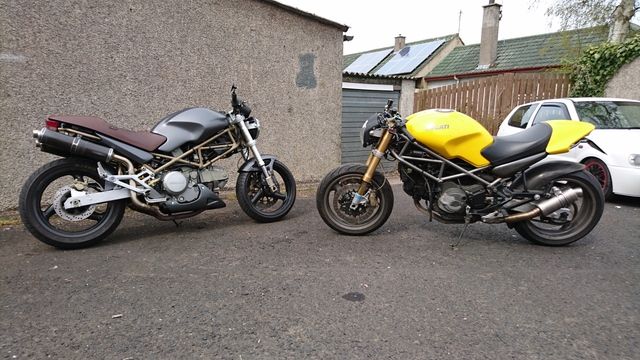
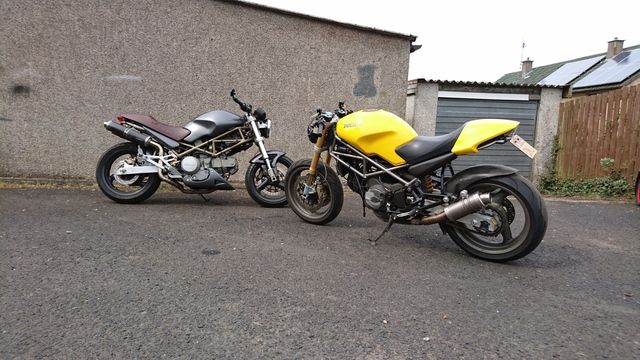
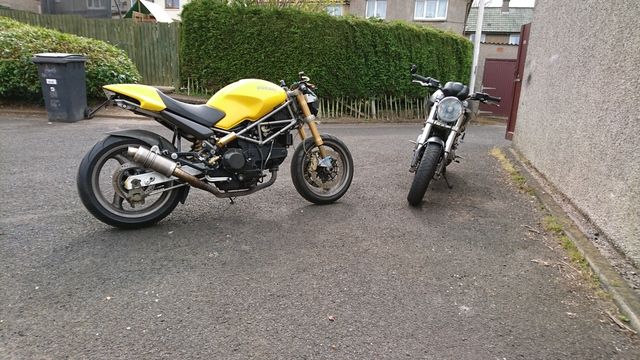
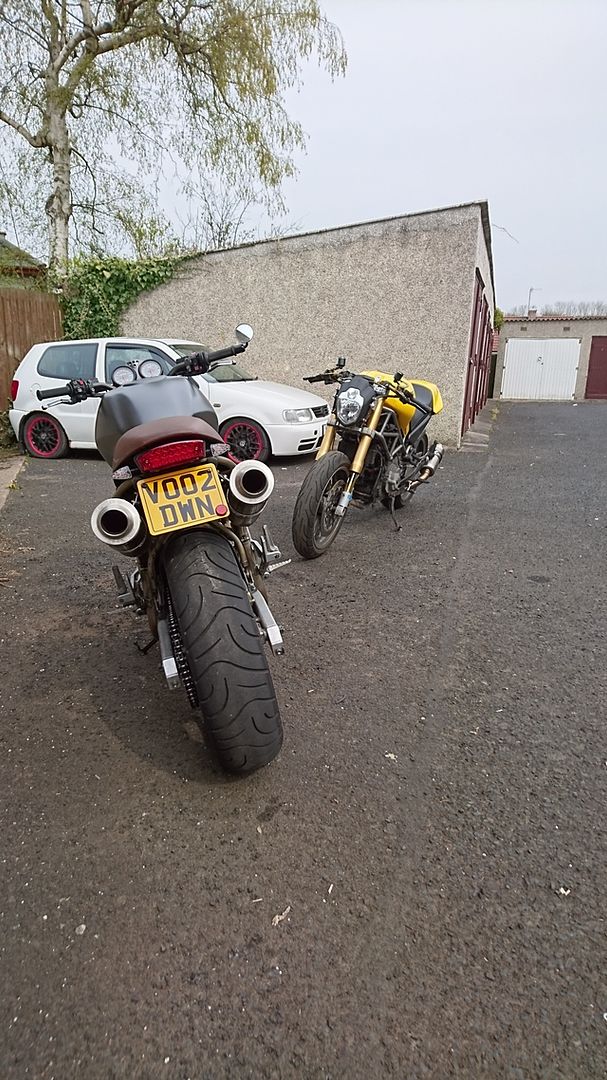
Here's my 2 Monster together:


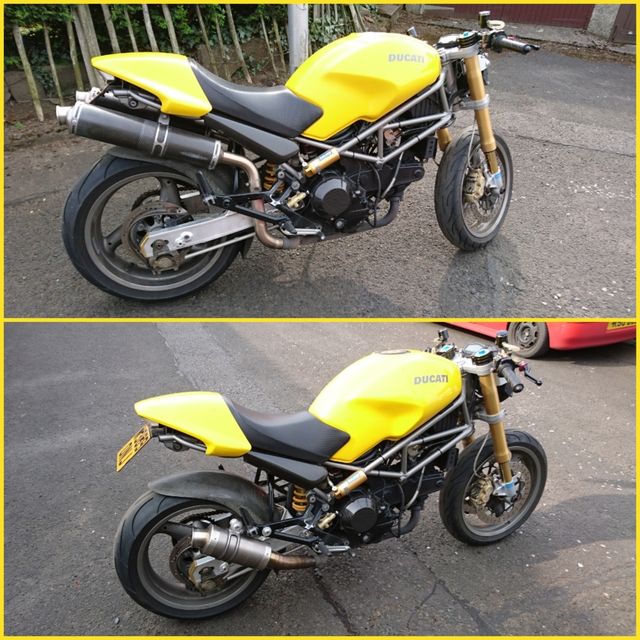
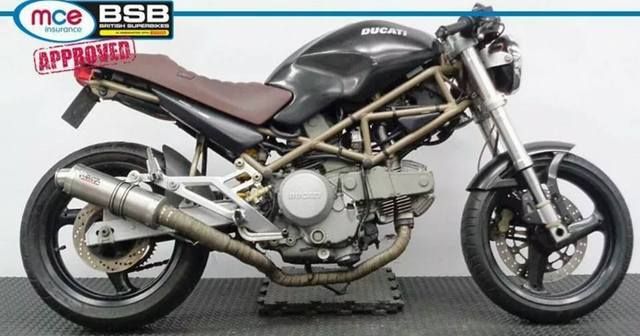
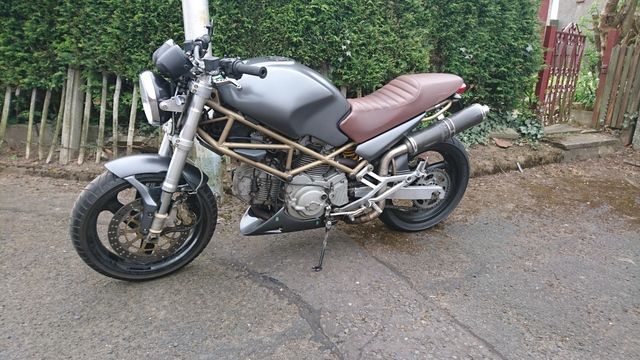
And a few pics of the 600 (which is for sale soon):

Then:


Now:


  Reply With Quote
Old 15-05-2016, 07:54 PM   #3
blackthorn
Guest
 
Posts: n/a


Cheers,

Roo
  Reply With Quote
Old 16-05-2016, 04:45 PM   #4
blackthorn
Guest
 
Posts: n/a
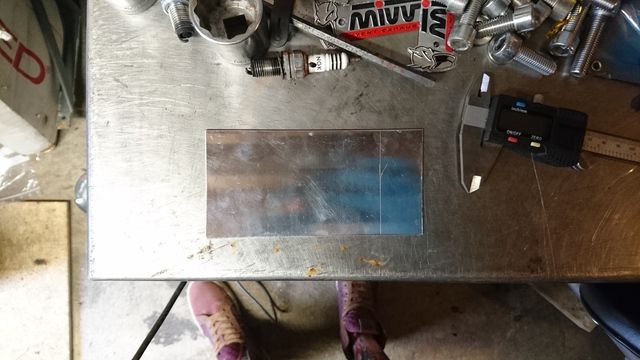
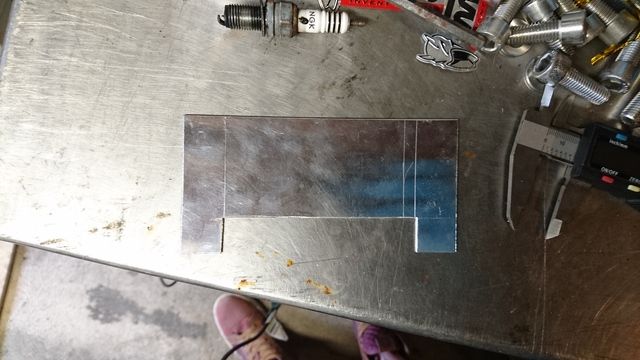
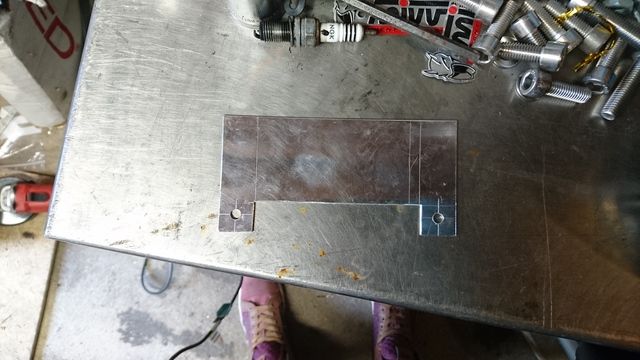
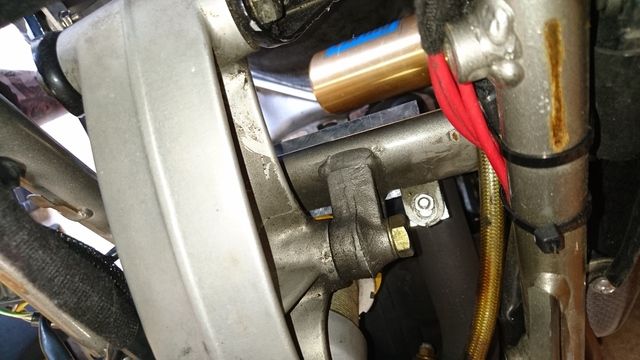
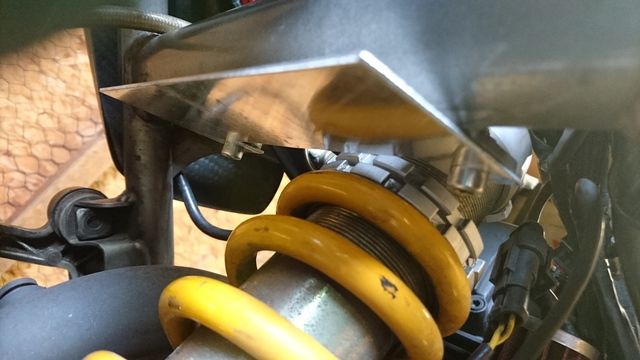
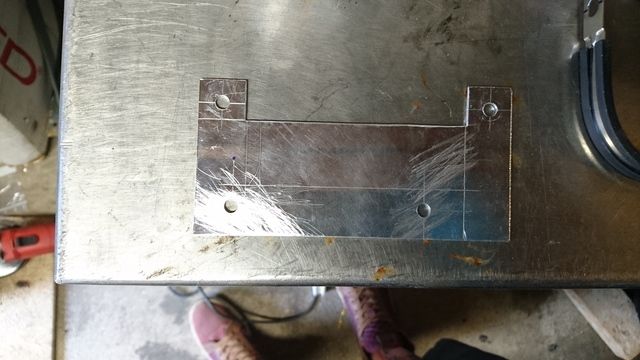
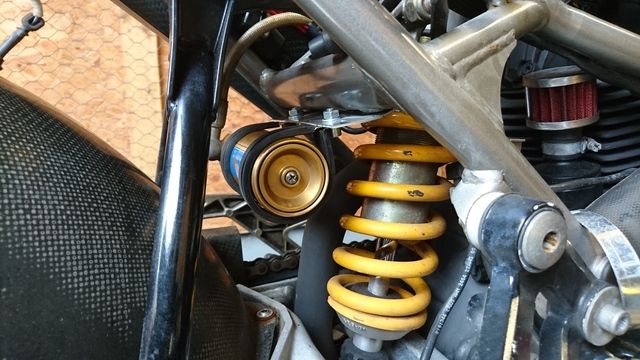
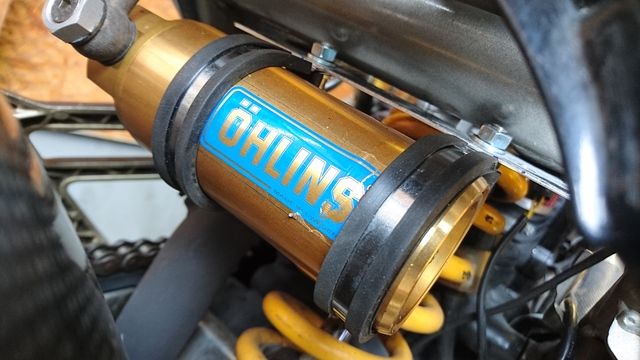
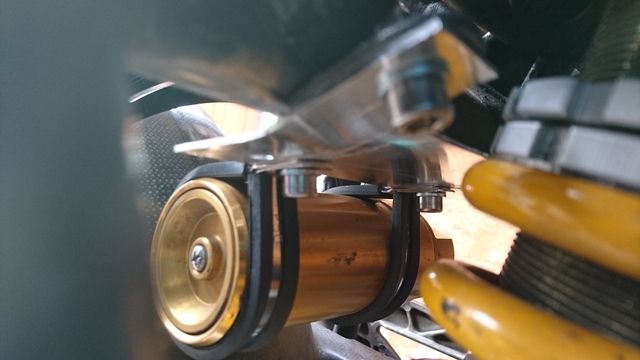
Made up a bracket and put the ohlins piggy back in it's original position today


Cheers,

Roo
  Reply With Quote
Old 16-05-2016, 09:16 PM   #5
Saint aka ML
Junior ah to be young
 
Saint aka ML's Avatar
 
Join Date: Nov 2007
Location: London
Bike: Multiple Monsters
Posts: 2,058
That bastard on yellow bike. He nicked my headlight idea!!!!
__________________

"I am Lucazade"
Saint aka ML is offline   Reply With Quote
Old 16-05-2016, 09:20 PM   #6
slob
.
 
slob's Avatar
 
Join Date: Jul 2003
Location: East London
Bike: Multiple Monsters
Posts: 9,738
M600: don't like the brown seat but that grey colour rocks!
slob is offline   Reply With Quote
Old 16-05-2016, 10:50 PM   #7
blackthorn
Guest
 
Posts: n/a
Quote:
Originally Posted by Saint aka ML View Post
That bastard on yellow bike. He nicked my headlight idea!!!!
Haha it came with the bike so it wasn't me going to do the projector with HID xenon conversion as well

Quote:
Originally Posted by slob View Post
M600: don't like the brown seat but that grey colour rocks!
Couldn't agree more mate the seat is rank! I had planned on changing it to black but then i bought the 900 so just done the paint, service and replaced the forks for selling it it's an alfa romeo satin bumper colour
  Reply With Quote
Old 17-05-2016, 05:48 PM   #8
blackthorn
Guest
 
Posts: n/a
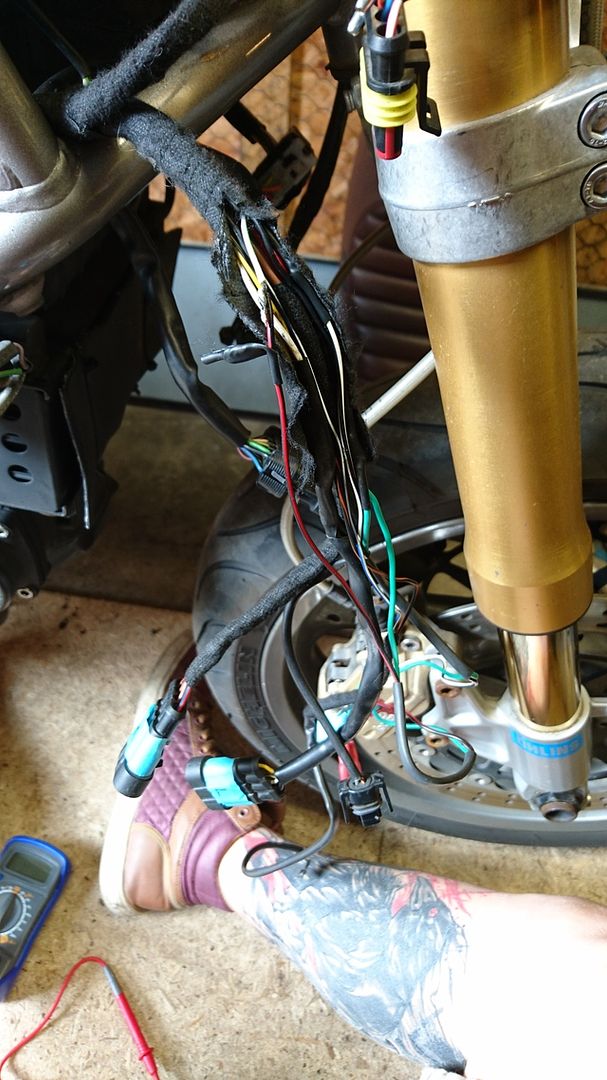
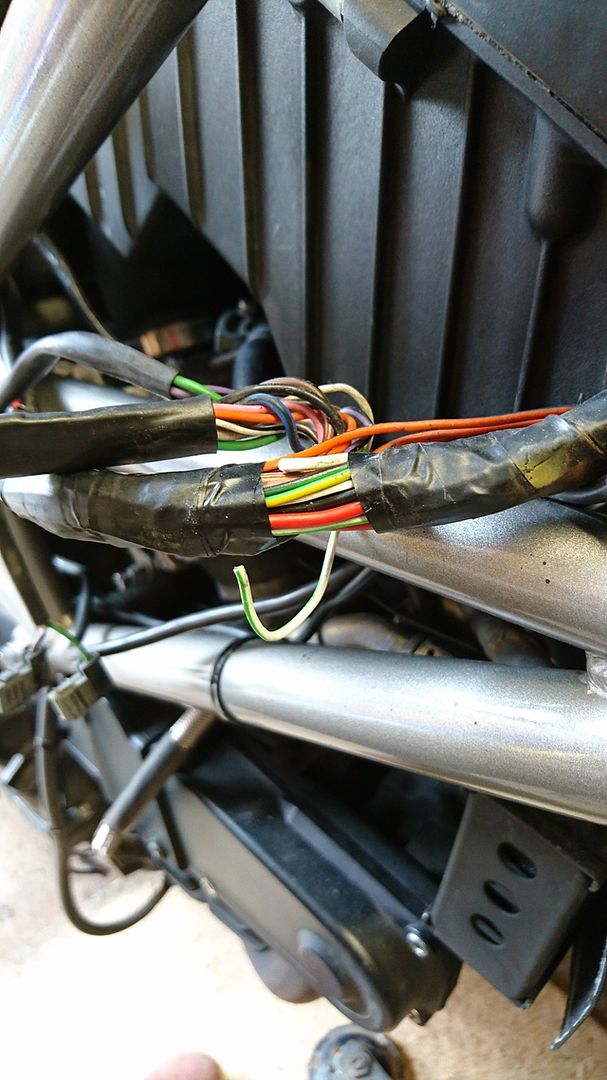
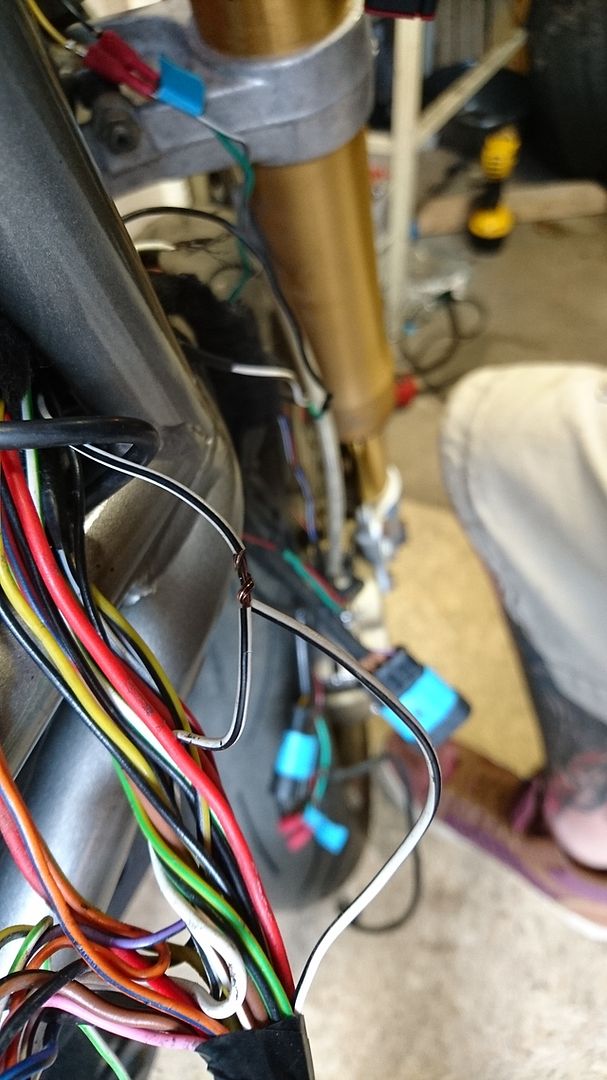
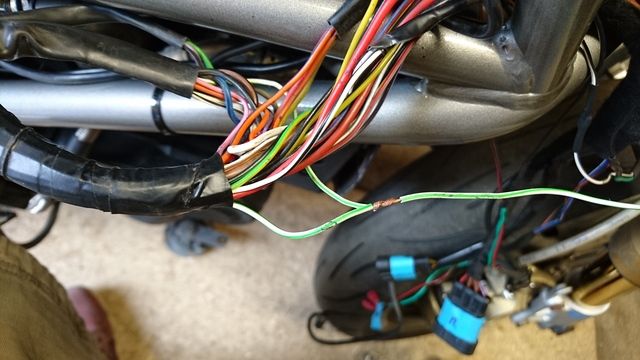
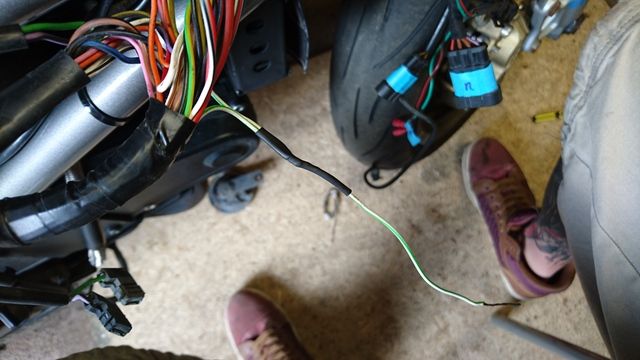
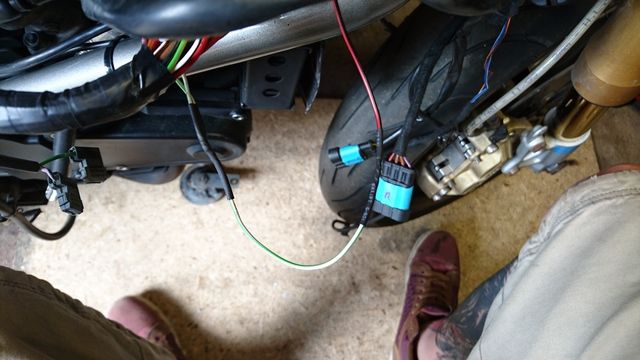
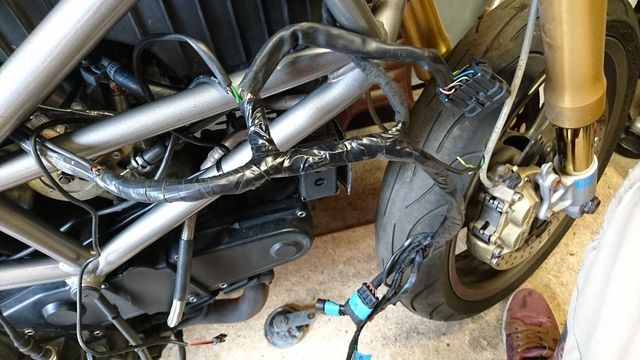
So today i sorted out the wiring for the indicators. It began with doing a continuity test which showed that there was nothing there, not a sausage! So i started to strip back the loom and it turns out the original owner hadn't finished hooking stuff up before wrapping the loom back up...


The green/white wires weren't attached from just after the loom plug so neither front/rear worked on the right where as the black/white for the left side was wired into the front one but not the rear so had to splice them together.


I did solder eveything but my soldering isn't worth of pictures


Waiting on diagnostic stuff arriving then it's time to get set in about it to get it running properly...
  Reply With Quote
Old 20-05-2016, 10:45 PM   #9
blackthorn
Guest
 
Posts: n/a
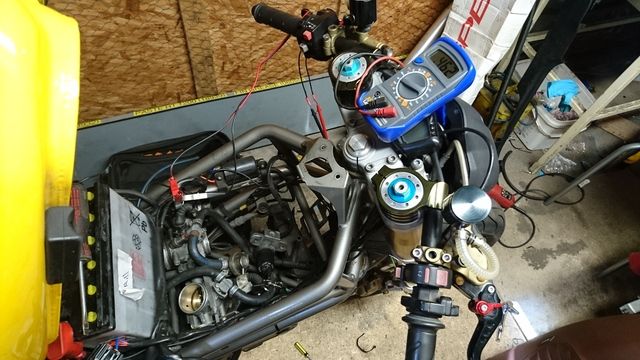
Turns out the TPS was out! only read 99mv with butterfly's full closed so reset to 150mv then set the idle to 271mv and finally balanced the TB's as they were slightly out as well everything run's great now and the bike is wild!!


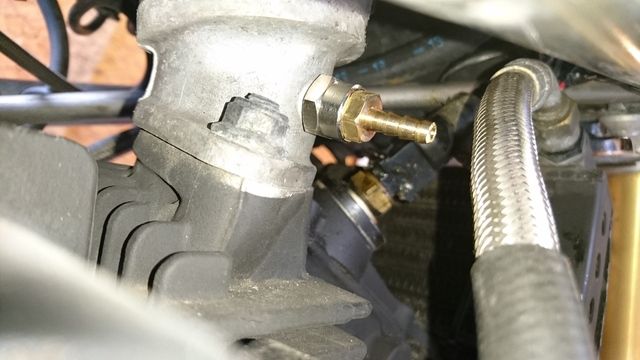
Made me own adapters for the sync


Cheers,

Roo
  Reply With Quote
Old 20-05-2016, 11:28 PM   #10
Saint aka ML
Junior ah to be young
 
Saint aka ML's Avatar
 
Join Date: Nov 2007
Location: London
Bike: Multiple Monsters
Posts: 2,058
Your soldering is better then mine hence I am using the crush tubes with heat shring on top of them
__________________

"I am Lucazade"
Saint aka ML is offline   Reply With Quote
Old 21-05-2016, 09:59 AM   #11
Nottsbiker
Guest
 
Posts: n/a
Quote:
Originally Posted by Saint aka ML View Post
Your soldering is better then mine hence I am using the crush tubes with heat shring on top of them
I'd be wary of doing that as I've had them work loose in the past. Soldering is very easy as long as you have clean wire to work with
  Reply With Quote
Old 21-05-2016, 11:34 AM   #12
DrD
Guest
 
Posts: n/a
Good to hear that you're getting there with the bike.
  Reply With Quote
Old 21-05-2016, 12:24 PM   #13
utopia
No turn left unstoned
 
utopia's Avatar
 
Join Date: Jun 2010
Location: leicester
Bike: M750
Posts: 4,562
Two secrets to soldering ....
1) Absolute cleanliness.
2) Don't use modern lead free solder, its useless .... use the old fashioned lead/tin stuff.

Also, you can get crimp connectors where the shrinktube is lined with hot-melt glue.
This gives a reliable, sealed joint.
Or simply use the glue-lined shrinktube over soldered joints.
In either case, the glue gives added mechanical strength to the joint.
utopia is offline   Reply With Quote
Old 21-05-2016, 12:40 PM   #14
Saint aka ML
Junior ah to be young
 
Saint aka ML's Avatar
 
Join Date: Nov 2007
Location: London
Bike: Multiple Monsters
Posts: 2,058
I use the one with glue easy fix
__________________

"I am Lucazade"
Saint aka ML is offline   Reply With Quote
Old 26-05-2016, 07:42 PM   #15
blackthorn
Guest
 
Posts: n/a
Quote:
Originally Posted by Saint aka ML View Post
Your soldering is better then mine hence I am using the crush tubes with heat shring on top of them
Honestly mate i do not rate my soldering lol it does the job like it should but i need to get better!

Quote:
Originally Posted by DrD View Post
Good to hear that you're getting there with the bike.
Yeah me to! Very happy i can actually ride it now as it's making me a very happy and adrenaline filled guy!

Quote:
Originally Posted by utopia View Post
Two secrets to soldering ....
1) Absolute cleanliness.
2) Don't use modern lead free solder, its useless .... use the old fashioned lead/tin stuff.

Also, you can get crimp connectors where the shrinktube is lined with hot-melt glue.
This gives a reliable, sealed joint.
Or simply use the glue-lined shrinktube over soldered joints.
In either case, the glue gives added mechanical strength to the joint.
Will bear this in mind for when i'm next soldering buddy, thanks for that!

Update:


So the bike came to me with 3 random wires at the head tube which turned out to be fuel, oil pressure and neutral which couldn't be wired into the koso clocks so i came up with the idea to drill out M8 bolts and fit 3mm LED's inside them then put them where the original mounts are for the bars. I only ordered one to make sure it was going to work so i done the fuel light today:
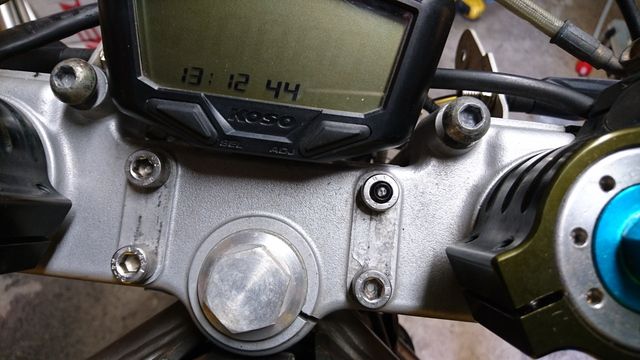
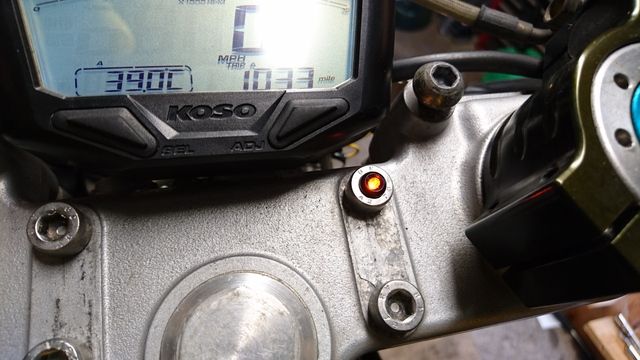
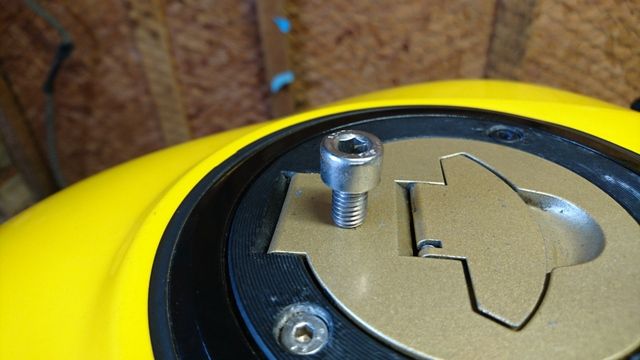
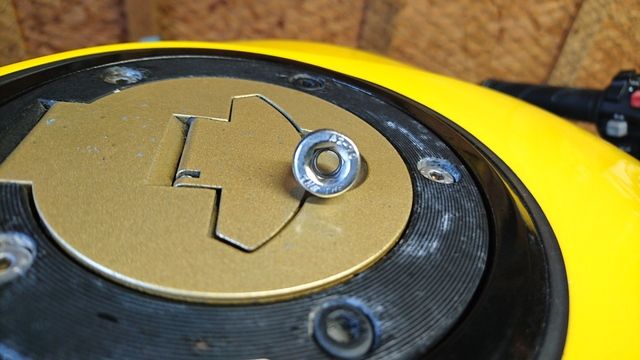


However the fuel light is staying on so i think the low level sensor may be knackered... as i checked for current when the tank was empty and full, both times there was 12v going to the wire any other way i can check?

cheers,

Roo
  Reply With Quote
Reply


Posting Rules
You may not post new threads
You may not post replies
You may not post attachments
You may not edit your posts

BB code is On
Smilies are On
[IMG] code is On
HTML code is Off

Forum Jump


All times are GMT. The time now is 10:49 AM.

vBulletin Skins by vBmode.com. Powered by vBulletin® Version 3.8.3
Copyright ©2000 - 2024, Jelsoft Enterprises Ltd.