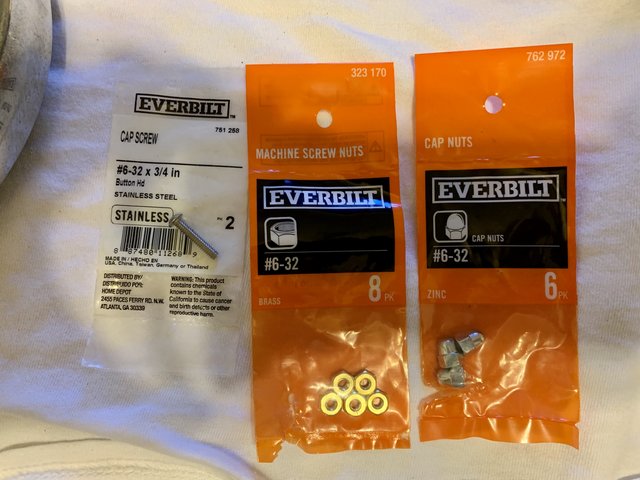
so I was able to go to a hardware store and buy the bolts and nuts I wanted to see if they would work and they worked great! You will need 3 of each as you have 3 tabs to do. You need 3 #6-32 X 3/4” allen cap bolts 3 #6-32 nut I used the thin ones and 3 #6-32 cap nuts. You can also use #8-32 hardware but of course they didn’t have everything I needed in 8-32! I took out the nuts I used the other day and ruthenium changed them one at a time. Before toy tighten down everything make sure the headlight is centered! Don’t ask me how I know! I first put the bolt in the tab and then added the nut and then the cap bolt. I tightened the cap nut first and then nut until it was tight to the tab. If the cap nut isn’t making good contact with the headlight bend the tab without the bolt until it’s dose. Once you have all three on you will see how good the light feels. Then just add the bucket and reinstall it to the bike. Don’t forget to aim the light and set it up. I went on a 40 mile ride tonight after I installed in including dark roads and I have to see it makes a huge difference! Also I checked the headlight and nothing moved at all I think it’s was the nuts that are tightened to the tab. The only thing I need to do now it put a couple of beads of silicone so water doesn’t get into the headlight. Thanks again to Gary for this adapter and so happy I was able to make it work! Workin and fabricating on Racecars help me solve this!
Here are the photos
Thanks again to Gary for this great adapter!
The hardware

Installed

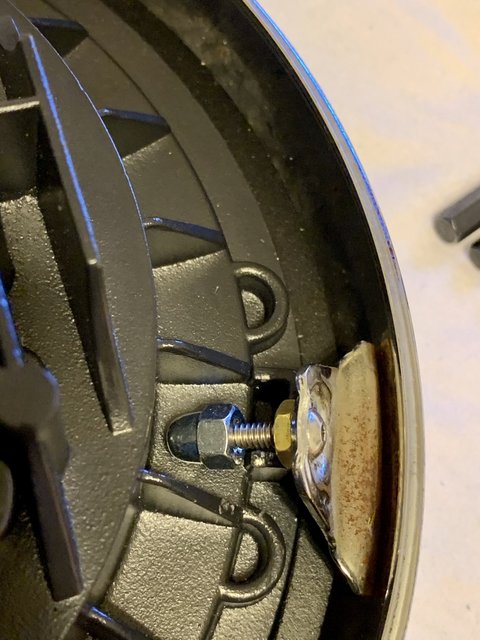
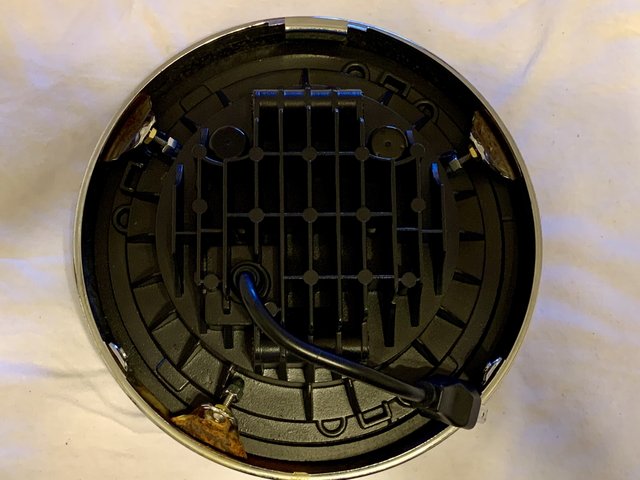
All three tabs done
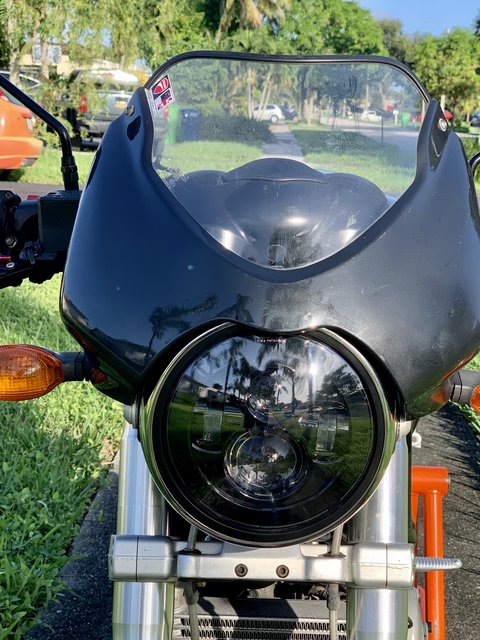
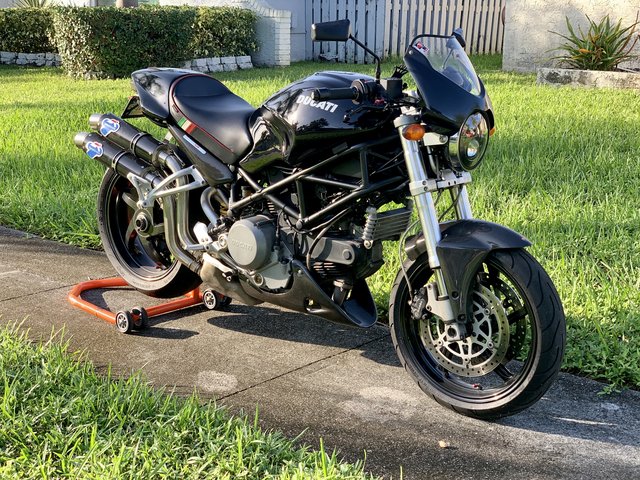
On the bike